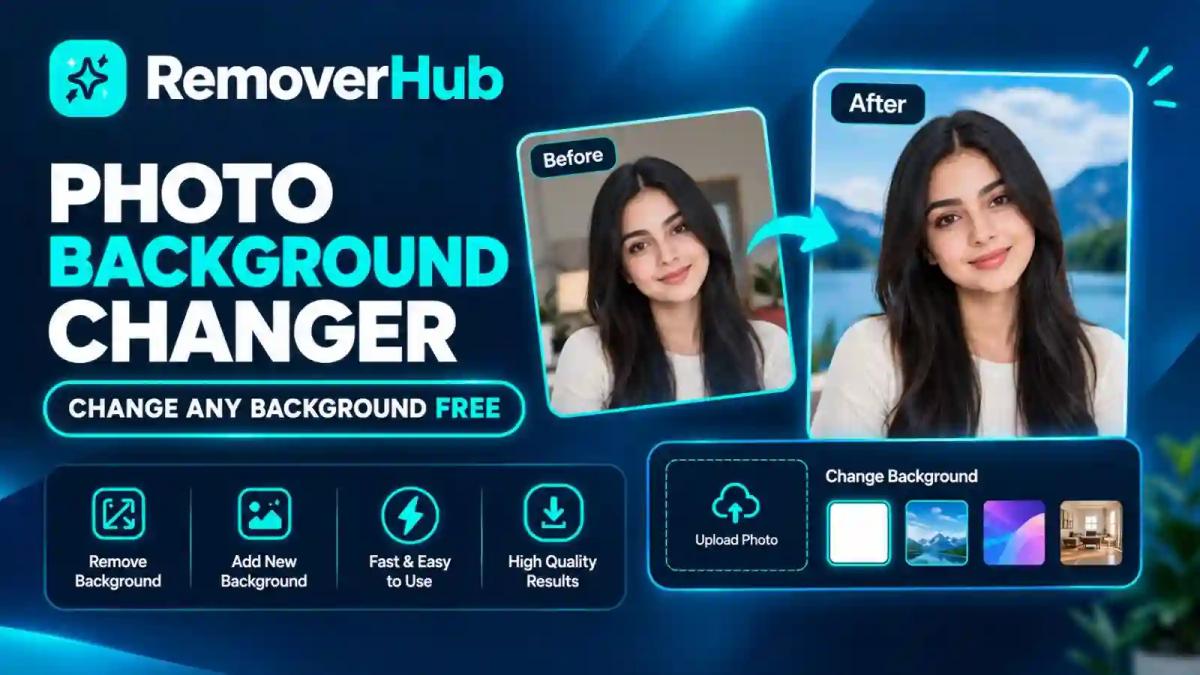
How to Change a Photo Background Free (Step by Step)
You have a great photo with a terrible background. Maybe it's a portrait taken in a messy room, a product shot on a cluttered desk, or a passport photo that needs a plain white backdrop. Years ago, fixing that meant hours in Photoshop. Today, AI can separate a subject from its surroundings in seconds.
This guide explains what a photo background changer does, how to use one step by step, how to get natural-looking results, and which export format to choose. It also covers portraits, product photos, passport photos, and the privacy questions worth asking before you upload.
How Do You Change a Photo Background for Free?
To change a photo background for free, upload your image to an online background changer, let the AI separate the subject from the old background, choose a new color, uploaded photo, or generated scene, check the edges, and download the result as PNG or JPEG. Free tools often limit resolution, daily uses, or add a watermark, so check the plan first.
The short answers:
- Do I need Photoshop? No. Browser-based tools handle most everyday jobs without design skills.
- Can I use my own background image? Many tools allow it. Check the features of the tool you choose.
- Will quality drop? It shouldn't if you export at full resolution, but free plans sometimes cap export size.
- Can I change a background to white? Yes. This is one of the most common uses, especially for products and passport-style photos.
- Is it safe? It depends on the provider's privacy policy. Read it before uploading personal photos.
What Is a Photo Background Changer?
A photo background changer is a tool that separates the main subject of an image, such as a person or product, from its background, and then places a new background behind it. The new background can be a solid color, another photograph, a gradient, or an AI-generated scene.
Background Removal vs. Background Replacement
These two terms get mixed up, so here is the difference.
- Background removal separates the subject from the original background and leaves the area transparent.
- Background replacement goes one step further and places a new color, photo, or generated scene behind the isolated subject.
Every background changer does removal first. If you only need a cutout with a see-through background, our AI Background Remover and Transparent Image Maker handle that part. If you want the full swap, you then add the new backdrop.
How AI Background Replacement Works
You don't need the theory to use a tool, but understanding it helps you fix problems later.
Subject detection. Computer vision models identify what is in the picture and which part is the main subject.
Segmentation. The AI decides, pixel by pixel, which areas belong to the subject and which belong to the background. This is called image segmentation.
Edge refinement. Hair, fur, and soft edges need extra care. Good tools calculate partial transparency along the edges so they blend naturally.
Compositing. The cut-out subject is placed over the new background, using an alpha channel to control transparency.
Blending. Better tools match color, light, and sometimes add a soft shadow so the subject doesn't look pasted on.
Research projects such as Meta's Segment Anything show how far subject segmentation has come, though results still vary by photo.
Why Some Photos Work Better Than Others
AI does best when the subject stands out clearly. It struggles when:
- The background color is close to the subject's clothing or hair
- Hair is wispy, curly, or backlit
- The subject is partly transparent, like glass or lace
- The image is small, blurry, or heavily compressed
- Several overlapping subjects crowd the frame
No tool is perfect, so always check the edges before you download.
How to Change a Photo Background Online: Step by Step
Buttons differ from tool to tool, but the sequence is nearly always the same.
Step 1: Choose a Good Source Photo
Start with the best image you have. A sharper, well-lit photo gives the AI more to work with. If your picture is soft, first read how to sharpen blurry images online or fix an out-of-focus picture. For low-resolution images, our guide to upscaling an image without losing quality can help.
Step 2: Upload Your Image
Upload a JPEG, PNG, or WebP file. Larger files give better results but may hit free-plan limits. Check the file size and resolution limits before you start.
Step 3: Let the AI Remove the Old Background
Most tools do this automatically within seconds. You'll see your subject on a transparent checkerboard background. If the tool offers manual refine brushes, you can restore or erase small areas.
Step 4: Pick Your New Background
You usually have four choices:
- A solid color. White, black, gray, blue, or any custom color.
- Your own image. Upload a photo or design to place behind the subject.
- A gradient or template. Useful for social posts and profile pictures.
- An AI-generated scene. Some tools create a background from a text description.
Step 5: Adjust Position and Size
Move and resize the subject so it sits naturally in the frame. Keep the proportions realistic, and leave some breathing room around the edges.
Step 6: Check the Edges Closely
Zoom in and look for:
- Halos. Light or dark outlines around the subject
- Rough or jagged edges
- Missing hair strands
- Leftover patches of the old background
- Color spill, where the old background tints the edge of the subject
If you see problems, use the refine brush, or try a different source photo.
Step 7: Download in the Right Format
Choose PNG if you need transparency, or JPEG for a flat final image. Download at the highest resolution the plan allows.
Step 8: Keep Your Original
Always save the untouched original in case you want to start over.
How to Make a Background Look Realistic
A technically clean cutout can still look fake. These details make the difference.
- Match the lighting direction. If light hits your subject from the left, choose a background lit from the left.
- Match the color temperature. A warm indoor portrait looks odd against a cool blue sky.
- Match sharpness. A razor-sharp subject on a blurry background looks natural, because cameras blur distant backgrounds. A blurry subject on a sharp background looks wrong.
- Keep scale believable. A person shouldn't be taller than a door behind them.
- Add or preserve a soft shadow. A shadow grounds the subject. Our Shadow Remover helps if the original shadows are harsh.
- Avoid busy backgrounds behind faces. Simple, slightly blurred backgrounds keep attention on the subject.
If you prefer to keep the real background but soften it, see how to blur a photo background online.
Change a Photo Background to White, Black, or Another Color
Solid colors are the most common request. They look clean and professional, and they're easy to get right.
White Backgrounds
White works for product listings, ID-style photos, and resumes. Marketplaces often require it. Read our guides on making a product photo background white and the best background color for product photos.
Black and Dark Backgrounds
Dark backgrounds make bright products and jewelry stand out. They can also hide dust and imperfections.
Brand or Profile Colors
A consistent brand color across your images looks polished. For work profiles, see our advice on LinkedIn photo backgrounds.
Tips for Solid Colors
- Use exact color codes (hex values) for brand consistency
- Check the subject's edges for halos against the new color
- Avoid a pure white subject on a pure white background, since edges disappear
Replace a Background with Your Own Image or an AI Scene
Using Your Own Image
Pick a background with a similar angle and light to your subject. Landscapes, offices, studios, and plain walls tend to work best. Make sure you own the image or have the right to use it. Stock photos have licenses, so read the terms.
Using AI-Generated Backgrounds
Some tools generate scenes from a text prompt. This is powerful, but results vary, and the AI can add odd details. Before publishing, check the output carefully. Also, if you publish AI-edited images, consider being open about it. Standards such as C2PA Content Credentials aim to record how images were created and edited.
Expanding the Canvas
If your subject is cropped too tightly, you can extend the image. Read how to expand an image with AI.
Background Editing for Specific Uses
Portraits and Profile Pictures
Keep the background simple and natural. A soft neutral color or a lightly blurred office usually looks best. Check the hair edges, since that's where most problems appear.
Product Photos
Clean, consistent backgrounds help products look trustworthy. Start with a sharp, evenly lit photo. For larger catalogs, batch background removal saves time. See also our guides on free product photo editing tools, AI background removers for ecommerce, Etsy and Shopify backgrounds, and Amazon FBA backgrounds. The Background Remover for Product Photos tool is built for this job.
Platforms have specific rules. Check Amazon product image requirements, Walmart image requirements, and eBay product photo tips. For jewelry, which is tricky because of reflections, read about removing backgrounds from jewelry photos.
Passport and ID-Style Photos
Official photos have strict rules about background color, size, and expression, and these differ by country. Always follow your issuing authority's current requirements, because some offices reject digitally altered images. See our guide to the passport photo background remover, and confirm the rules on your government's official page before submitting.
Social Media Images
Match the platform's dimensions so nothing gets cropped. Our guide to Instagram post and story sizes in 2026 lists current sizes. Fun extras like WhatsApp stickers from a photo also start with a clean cutout.
Presentations and Documents
Transparent images drop neatly onto slides. See how to make images transparent in PowerPoint and Google Slides.
Logos
Logos usually need a transparent background so they sit on any color. Read how to remove the background from a logo, or use the Logo Remover tool if you need to clean one off an image.
PNG vs. JPEG vs. WebP: Which Format Should You Export?
The format you choose affects transparency, file size, and quality.
- PNG supports transparency through an alpha channel, which lets the image sit on any background. It's the best choice for cutouts and logos. The format is defined by the W3C PNG specification.
- JPEG doesn't support transparency, so any see-through area turns into a solid color. It makes smaller files and suits flat photos with a finished background.
- WebP supports both transparency and efficient compression, which makes it handy for websites. Learn more in the Google WebP documentation.
Rule of thumb: use PNG when you need transparency, JPEG when the background is final and file size matters, and WebP for web use where browser support is fine.
For a deeper comparison, read our JPEG vs. PNG format guide and the MDN guide to image file types.
Does Changing the Background Reduce Quality?
Replacing a background doesn't by itself lower resolution. Quality can drop if the tool downsizes your export, compresses the file heavily, or you save as a low-quality JPEG. It also doesn't make a low-resolution photo sharper. If you need more detail, read our guides on enhancing image quality and converting a photo to HD.
A Worked Example: A Messy Desk Becomes a Clean Product Shot
This is an illustrative scenario that shows the decisions involved. Your results will vary.
The situation: Priya sells handmade candles online. She photographs a candle on her kitchen counter, and the shot has a cluttered background and uneven lighting.
Her steps:
She picks the sharpest of five photos, taken near a window.
She uploads it to a background changer, and the AI removes the counter and clutter.
She zooms in and notices a faint halo along the glass edge, so she uses the refine brush to clean it.
She chooses a soft off-white background and checks it against her shop's other images.
She exports a PNG for her records and a JPEG for her store listing.
The result: The candle looks clean and consistent with her other listings. The glass edge still isn't perfect, which is normal for reflective items, and she keeps the original in case she wants to reshoot.
The lesson: A good source photo and a quick edge check matter more than any single setting.
Fixing Common Problems
Rough or Jagged Edges
Zoom in and use the refine or restore brush. Try a higher-resolution source image. Slightly feathering the edge can help it blend.
Missing or Messy Hair
Hair is the hardest part. Try a photo with better contrast between hair and background. Keep the new background similar in tone to the old one, which hides small errors.
Halos and Color Spill
A light outline around the subject usually comes from the old background. Shrinking the mask by a pixel or two, or choosing a background closer in tone to the original, reduces it.
Missing Shadows
Subjects can look like they float. Add a soft drop shadow beneath them, or pick a background with a natural floor.
Poor Results with Glass or Transparent Objects
Glass is hard for any automatic tool. Expect to touch up by hand, or consider reshooting against a plain surface.
Free vs. Paid Background Changers: What to Check
"Free" means different things, so always check the details.
- Free forever with limits. Fewer downloads, lower resolution, or daily caps.
- Free with a watermark. Fine for tests, not for publishing.
- Free trial or credits. Works until the credits run out.
- Fully free. Rare, so read the terms carefully.
Before you commit time to a tool, verify these points on its official pages:
- Maximum export resolution
- Watermark policy
- Whether an account is required
- Supported formats
- Whether you can upload your own background
- Whether AI-generated backgrounds use credits
- Commercial-use rules
- Privacy and image retention
For comparisons of tools, see our rankings of best background remover tools in 2026, best transparent image maker tools, and free HD background remover. Popular alternatives include Canva and Adobe Express, and desktop editors like Adobe Photoshop and the free GIMP. Read how Photoshop compares with removerhub for transparent images.
Features and pricing change often, so confirm current details yourself.
Background Changer vs. Background Blur
Sometimes you don't need to replace the background at all.
- Replace when the original is messy, distracting, or off-brand.
- Blur when the setting is fine but you want the subject to pop.
Both are covered in our guide to blurring a photo background online.
Privacy and Safety When Uploading Photos
Photos often contain faces, homes, and personal details. Treat uploads seriously.
Questions to Ask Before You Upload
- Is the image processed on a server or locally in your browser?
- How long does the service keep your files?
- Can you delete them yourself?
- Can your images be used to train AI models?
- Is the connection encrypted, and is the company clearly identified?
Practical Habits
- Don't upload ID documents or children's photos to services you don't trust
- Crop out sensitive details first
- Avoid public Wi-Fi for large uploads
- Keep your original files safe
For more on image authenticity, the NIST AI Risk Management Framework offers background on responsible AI use. Always respect copyright, and only edit images you own or have permission to change. For related issues, see our guides on removing watermarks from photos and removing objects from photos, and only use them on your own content.
Related Photo Clean-Up Tools and Guides
Background work often comes with other edits.
- AI Object Remover for stray items in the frame
- AI People Remover and AI Person Remover for unwanted people, plus a guide to removing multiple people from a photo
- Image Sharpener for softness
- AI Blur Remover for blurry shots
- Green Screen Remover for green-screen photos, with a tutorial on fixing green screen spill
- HD Background Remover for high-resolution work
- Text Remover and Date Stamp Remover for stray text and date marks
- Red-eye removal for flash portraits
For video backgrounds, read how to remove a video background without a green screen.
Common Mistakes to Avoid
Starting with a blurry, dark photo. The AI needs a clear subject.
Skipping the edge check. Problems hide at full-screen zoom.
Picking a mismatched background. Lighting and color should agree.
Exporting a JPEG when you need transparency. Use PNG.
Saving over the original. Always keep it.
Ignoring free-plan limits. Check resolution and watermarks first.
Uploading private photos without reading the policy.
Using an altered photo for official ID. Many offices reject edited images.
Overdoing effects. Simple usually looks better.
Using images you don't have rights to. Check licenses.
Why Choose removerhub
Background changes rarely come alone. A photo may also need sharpening, an object removed, or a watermark cleaned from your own content. removerhub puts practical image tools and plain-language tutorials in one place, so you can handle those related jobs without hunting across sites.
- Browser-based tools. Edit images without installing heavy software.
- Guides that match the tools. Each tutorial explains what a tool can do and where it falls short.
- Honest expectations. We tell you what AI can fix and what it can't.
- Regular updates. Articles are reviewed as tools and platform rules change.
Browse the removerhub tools page, read more on the removerhub blog, learn about us on the About page, or contact us with questions or corrections. You can also review our privacy policy and terms.
Explore Advanced removerhub tools: AI Background Remover, HD Background Remover, Transparent Image Maker, and Watermark Remover.
Frequently Asked Questions
How can I change the background of a photo for free?
Upload your photo to a free online background changer, let the AI remove the old background, choose a new color, image, or scene, check the edges, and download. Free plans often limit resolution or add a watermark, so check the plan first.
Can I change a picture background without Photoshop?
Yes. Browser-based AI tools handle most everyday jobs without design skills or software installation.
Can I use my own image as the new background?
Many tools let you upload your own image. Check the features of the tool you use, and make sure you have the right to use the image.
Can I change my photo background to white online?
Yes. White is one of the most common choices, especially for product photos. Check edges for halos after you apply it.
How can I change a background without losing image quality?
Start with a high-resolution photo, export at full size, and choose PNG or a high-quality JPEG. Avoid tools that downsize free exports.
Does an online background changer work on phones?
Most browser-based tools work on mobile browsers, though performance depends on your device. Test with one image first.
Can AI automatically separate people from backgrounds?
Yes, in most clear photos. Results can be weaker with messy hair, similar colors, or crowded scenes, so always check the edges.
How do I fix rough edges after replacing a background?
Zoom in and use the refine or restore brush, try a higher-resolution source photo, or choose a background closer in tone to the original.
What image formats support transparent backgrounds?
PNG and WebP support transparency. JPEG does not, so transparent areas turn into a solid color.
Can I change the background of a photo with several people?
Often yes, but results depend on how clearly the people are separated. Overlapping subjects may need manual touch-ups.
Are free photo background changers safe to use?
It depends on the provider. Check whether images are processed locally or on a server, how long they are kept, and whether they can be used for model training. Avoid uploading sensitive photos to services you don't trust.
How do I make a replaced background look realistic?
Match the lighting direction, color temperature, and scale, keep the subject sharper than a blurred background, and add a soft shadow.
Key Takeaways and Next Steps
Changing a photo background is quick, but the best results come from a few careful habits.
Start with a clear, well-lit photo.
Let the AI cut out the subject, then zoom in and check the edges.
Choose a background that matches the lighting, color, and scale.
Export in the right format: PNG for transparency, JPEG for flat photos.
Check free-plan limits for resolution, watermarks, and commercial use.
Protect your privacy before uploading personal photos.
Keep your original file.
What to do next:
- Pick one photo and try the AI Background Remover, then add a new background.
- Compare the result against your original at full zoom.
- Try a plain white and a soft colored version, and keep the better one.
- Read our best background remover tools in 2026 if you want to compare options.