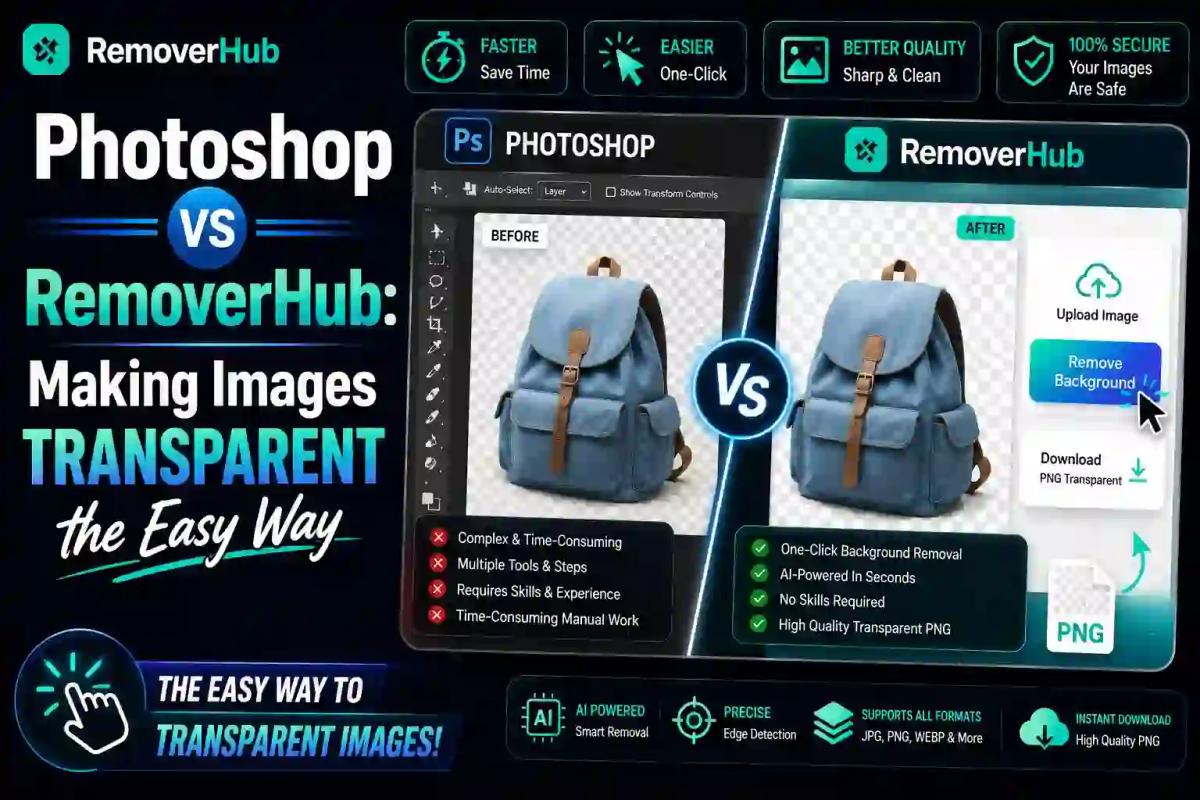
Photoshop vs RemoverHub: Make Images Transparent Easily
If you've ever tried to remove a background from a photo in Adobe Photoshop, you know the drill: select the Magic Wand tool, zoom in at 400%, painstakingly trace around every strand of hair, undo three times, and finally give up and just use a white background instead. For professional designers, this workflow is second nature. For everyone else — small business owners, social media creators, students building a resume, or anyone who just needs one clean transparent PNG — it's a frustrating waste of an afternoon.
That's exactly the gap tools like RemoverHub were built to close. In this guide, we'll compare the traditional Photoshop method with RemoverHub's AI-powered approach, walk through exactly how each one works, and help you decide which is the right fit for your next project.
What Does It Actually Mean to Make an Image Transparent?
Before comparing tools, it helps to understand what "transparent background" really means technically. A transparent image isn't just a photo with the background deleted — it's a file saved in a format like PNG that includes an alpha channel, a hidden layer of data that tells your browser, design software, or printer exactly which pixels should be see-through and which should stay solid.
This is why you can't simply "erase" a background in a JPEG and expect it to look transparent. JPEGs don't support transparency at all. You need a format like PNG (or WebP) that preserves that extra alpha information, which is exactly what both Photoshop and RemoverHub output when you're done editing.
Transparent images are everywhere once you start noticing them: logos placed cleanly on a website header, product photos on Amazon or Shopify listings, cutout portraits for presentations, and stickers with irregular shapes. Getting that transparency right — especially around tricky details like hair, fur, or glass — is where the real difference between tools shows up.
The Photoshop Method: How It's Traditionally Done
Photoshop has been the industry standard for image editing for over three decades, and for good reason. It gives you total control over every pixel. Here's roughly what the manual process looks like:
Open your image and duplicate the background layer so you always have the original to fall back on.
Select your subject using tools like the Magic Wand, Quick Selection, or — for more precision — the Pen Tool to manually trace an outline point by point.
Refine the edge using Select and Mask, adjusting feathering and contrast so hair and fine details don't look jagged or chopped off.
Add a layer mask to hide the background non-destructively, rather than deleting pixels outright.
Export as PNG with transparency enabled, double-checking the alpha channel looks clean at full zoom.
Done well, this produces excellent, print-ready results. The catch is the word "well." Getting clean edges around curly hair, fur, or semi-transparent objects like glass or veils can take an experienced designer anywhere from ten minutes to over an hour per image — and that's assuming you already know Photoshop's tools inside and out.
Why Photoshop Isn't Always the Right Choice
Photoshop's power comes at a real cost, and it's not just the subscription price (though that's a factor too). A few honest limitations worth knowing:
- Steep learning curve. Layer masks, selection tools, and refine-edge settings take real practice to master. A beginner can easily spend longer learning the tool than actually editing photos.
- Time-consuming for simple tasks. If you just need one product photo with a clean transparent background for an online listing, manually tracing it in Photoshop is overkill.
- No built-in batch automation for casual users. Photoshop does support actions and scripting, but setting that up is itself a technical skill most casual users don't have.
- Desktop software requirement. You need a capable computer and an installed copy of Photoshop — not ideal if you're working from a phone or a shared/public computer.
None of this makes Photoshop a bad tool — it remains the gold standard for complex, professional retouching work. But for the much more common task of "I just need this background gone, right now," it's often more tool than the job requires.
What Is RemoverHub, and How Is It Different?
RemoverHub takes a fundamentally different approach: instead of manual selection tools, it uses AI models trained specifically to detect the subject of a photo and separate it from the background automatically. You upload an image, the AI analyzes pixel patterns, edges, and depth cues, and within seconds you get a clean transparent cutout — no layer masks, no Pen Tool, no zooming in to chase stray pixels.
The core tool for this is the AI Background Remover, which handles the same job Photoshop's manual selection process does, but automatically. For situations where you specifically need a see-through PNG rather than a plain white or colored background, the Transparent Image Maker is purpose-built for exactly that output.
If your priority is print-quality resolution — say, for packaging, large banners, or professional catalogs — the HD Background Remover preserves image sharpness so your cutout doesn't look soft or pixelated when scaled up. And for online sellers specifically, the Background Remover for Product Photos tool is optimized for the clean, consistent white or transparent product shots that marketplaces like Amazon, Etsy, and Shopify expect.
Photoshop vs RemoverHub: Side-by-Side Comparison
Here's how the two approaches stack up across the factors that actually matter to most people:
Speed: Photoshop's manual process typically takes 10–60+ minutes per image depending on complexity and skill level. RemoverHub processes most images in a matter of seconds.
Skill required: Photoshop demands familiarity with layers, masks, and selection tools. RemoverHub requires no design experience — you upload an image and download the result.
Consistency across images: Manual Photoshop editing can vary slightly from image to image based on the editor's technique and fatigue. RemoverHub's AI applies the same detection logic every time, which is especially useful for product catalogs where visual consistency matters.
Batch processing: Batch editing in Photoshop requires setting up actions or scripts. RemoverHub is built for quick repeat use, making it far more approachable for anyone processing multiple images in a session.
Cost and accessibility: Photoshop requires a paid subscription and a capable desktop or laptop. RemoverHub runs directly in your browser, with no software installation required.
Edge and hair accuracy: A skilled Photoshop user with enough time can achieve extremely precise, professional-grade edges. RemoverHub's AI handles most standard cases — including hair and fine detail — very well automatically, though genuinely complex professional retouching still benefits from manual fine-tuning.
Best for: Photoshop remains the stronger choice for advanced compositing, complex photo manipulation, and situations demanding pixel-perfect manual control. RemoverHub is the stronger choice for quick, everyday transparency needs — product photos, social graphics, logos, and profile pictures — where speed and simplicity matter more than manual control.
How to Make an Image Transparent Using RemoverHub (Step by Step)
One of the biggest appeals of RemoverHub is how few steps it actually takes:
Go to the AI Background Remover or the Transparent Image Maker tool.
Upload your photo — most common formats like JPG, PNG, and WebP are supported.
Let the AI process the image. The tool automatically detects your subject and removes the background in seconds.
Review the result. Zoom in on edges, especially around hair or fine details, to make sure everything looks clean.
Download your transparent PNG, ready to use in a website, presentation, design tool, or online store listing.
That's genuinely the entire process — no software to install, no tutorials to watch first, and no design vocabulary to learn.
When You Might Still Reach for Photoshop
To be fair to Photoshop, there are still scenarios where it's the better tool for the job:
- Complex compositing projects where you're blending multiple images, adjusting lighting, and doing extensive color matching.
- Highly technical retouching for high-end commercial photography where every pixel needs manual review.
- Custom creative effects that go beyond simple background removal, like double exposures or intricate digital art.
For these advanced use cases, Photoshop's depth of manual control is hard to replace. But it's worth being honest that most everyday transparency needs — the kind 90% of people actually run into — don't require that level of manual control at all.
Real-World Use Cases for Transparent Images
Understanding where transparent images actually get used helps clarify which tool fits your situation:
E-commerce product listings. Marketplaces increasingly expect clean, consistent product photos. A transparent or pure white background makes listings look professional and lets sellers easily swap in branded backgrounds later.
Logos and branding. A logo with a transparent background can be placed on any color website header, social media banner, or printed material without an awkward white box around it.
Social media graphics. Cutout portraits or product shots layered onto custom backgrounds are a staple of modern social content — and speed matters when you're posting daily.
Presentations and documents. A transparent headshot or icon looks far more polished in a slide deck than one with a visible background rectangle.
Print and packaging. For labels, stickers, and packaging design, a high-resolution transparent cutout — like the kind produced by the HD Background Remover — ensures the image stays sharp even when scaled up for print.
For a deeper look at getting professional, non-pixelated results specifically, this guide on removing backgrounds in HD quality without pixelation covers the technical side in more detail.
Beyond Background Removal: Other RemoverHub Tools Worth Knowing
Making an image transparent is often just one part of a bigger editing workflow. RemoverHub's toolset covers several related tasks that pair naturally with background removal:
- Watermark Remover — useful when cleaning up stock images or old photos before further editing.
- Logo Remover — for removing unwanted branding from images before repurposing them.
- Shadow Remover — helpful when your original photo has a harsh shadow that looks odd once the background is gone.
- Image Sharpener — a good follow-up step if your source photo was slightly soft or blurry before background removal.
If you want a broader comparison of transparent-image tools on the market, the guide on the best transparent image maker tools breaks down several options side by side, while turning a photo into a transparent PNG walks through additional formatting tips for getting export settings right.
Frequently Asked Questions
What is the easiest way to make an image background transparent? For most people, an AI-powered tool like RemoverHub's Transparent Image Maker is the easiest approach — you upload a photo and get a transparent PNG back in seconds, with no design software or manual selection skills required.
Is RemoverHub better than Photoshop for beginners? For simple, everyday background removal tasks, yes — RemoverHub requires no prior editing experience. Photoshop remains better suited to advanced compositing and highly technical retouching work where full manual control is needed.
Can I remove image backgrounds without using Photoshop at all? Yes. Tools like RemoverHub's AI Background Remover handle background removal entirely through automated AI detection, with no Photoshop or any other design software required.
Does RemoverHub handle hair and fine details well? RemoverHub's AI is specifically trained to detect edges and fine details like hair, and it handles most standard photos accurately. For extremely complex or unusual images, a quick manual touch-up may still occasionally be useful.
What file format should I use for a transparent image? PNG is the standard format for transparency because it supports an alpha channel. JPEG does not support transparent backgrounds, so always export as PNG (or WebP where supported) when transparency is required.
Can I use RemoverHub for product photos on my online store? Yes. The Background Remover for Product Photos tool is built specifically for clean, consistent e-commerce images suitable for marketplaces and online storefronts.
Final Thoughts
Photoshop and RemoverHub aren't really competing for the exact same job — they're built for different points on the same spectrum. Photoshop gives you unmatched manual control for complex, high-stakes creative work. RemoverHub gives you speed, simplicity, and consistency for the everyday transparency tasks most people actually deal with: product photos, logos, social graphics, and quick edits that shouldn't take an hour of your day.
If you're staring down a stack of product photos, a logo that needs a clean cutout, or just one portrait for a resume, there's no reason to open Photoshop and relearn the Pen Tool. Head over to RemoverHub's AI Background Remover, upload your image, and get a transparent PNG in the time it would've taken you to find the right selection tool in Photoshop.
For further technical background on how PNG transparency and alpha channels work, the Mozilla Developer Network's guide on image file formats is a solid, authoritative reference worth bookmarking.