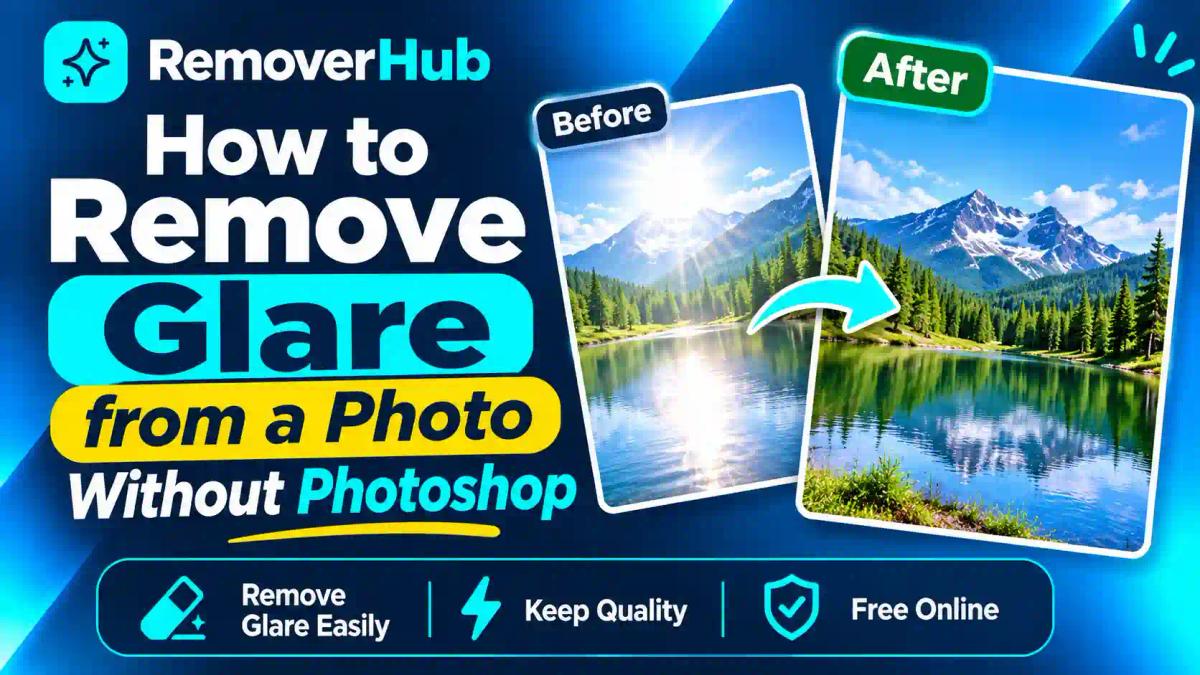
How to Remove Glare from a Photo Without Photoshop
You took the perfect photo, and then you noticed it. A white blaze across someone's glasses. A sun-streak on a framed print. A greasy shine on a forehead from the flash. A window reflection sitting right on top of your subject.
Glare is one of the most common photo problems, and you don't need Photoshop to deal with it. This guide explains what glare is, which kinds you can realistically fix, how to fix each one step by step with free tools, and where the limits are. It also covers how to stop glare before you press the shutter, because prevention beats repair every time.
How Do You Remove Glare from a Photo Without Photoshop?
To remove glare without Photoshop, open the photo in a free editor with an AI object-removal or retouching tool, brush over the glare spot, let the tool fill it in from the surrounding pixels, then lower highlights and check the edges. Small, soft glare often fixes well. Glare that completely hides the detail underneath can only be guessed at, not recovered.
The short answers:
- Can AI remove reflections? It can often reduce or fill small reflections, especially when the area underneath is simple. It cannot reveal detail that was never captured.
- Do I need to pay? Not always, but free tools usually have limits on resolution, daily uses, or watermarks.
- Will quality drop? It shouldn't if you export at full size, but some free plans shrink exports.
- What's the hardest type? Glasses glare over eyes, because the AI must invent a believable eye.
- What's the best fix? Avoiding the glare when you shoot.
What Is Glare, and Why Does It Appear in Photos?
Glare is bright, washed-out light that hides detail. In photography it usually comes from light bouncing off a shiny surface straight into the lens. Understanding the type tells you which fix to try.
Common Types of Photo Glare
- Glasses glare: light reflecting off lenses, covering the eyes.
- Window and glass reflections: a reflection of the room or the sky across a picture taken through glass, or across a framed photo.
- Sunlight glare: a hot, bright patch from direct sun on a shiny surface such as a car, water, or skin.
- Flash glare: a bright spot where the flash bounced straight back, common on glossy paper, whiteboards, and shiny faces.
- Lens flare: streaks, rings, or haze caused by light scattering inside the lens.
- Scan and print glare: shiny patches on photos of printed pictures or documents.
Specular vs. Diffuse Light
Photographers separate specular reflection (a mirror-like bounce that makes a hard bright spot) from diffuse reflection (soft, scattered light). Specular highlights are what we usually call glare. When they are so bright that they hit pure white, the camera recorded no detail there at all. That is called highlight clipping, and it explains why some glare can never be fully repaired.
Can Glare Really Be Removed? Setting Honest Expectations
Before you start, here's what to expect.
What Editing Tools Can Do Well
- Reduce mild, soft glare by lowering highlights
- Fill small bright spots using surrounding skin, wall, or background
- Soften shiny skin
- Reduce lens-flare haze with contrast and highlight adjustments
- Lessen faint window reflections on plain areas
What Tools Struggle With
- Fully blown-out areas. If a spot is pure white, there's no real data underneath.
- Glasses glare over eyes. The tool must guess the eye, and the result can look wrong or change the person's look.
- Reflections across complex detail such as faces, text, or patterns.
- Large glare covering most of the subject.
The core truth: AI fills in plausible pixels. It does not restore what the camera never captured. That distinction matters most when the photo is a keepsake, a document, or evidence. For anything where accuracy counts, reshoot instead of editing.
How to Remove Glare Without Photoshop: The General Method
Most free tools work the same way. Here's the basic workflow.
Step 1: Keep Your Original
Duplicate the file before you edit. You will want the untouched version if a fix goes wrong.
Step 2: Start with the Best Version
If you have several shots, pick the one with the least glare. Even a small head tilt between frames can move a reflection off the subject.
Step 3: Try Simple Adjustments First
Before using AI, try the basics in any free editor:
- Lower Highlights and Whites
- Raise Shadows slightly
- Add a little Contrast back, since pulling highlights can flatten the picture
- Reduce Exposure if the whole area is too bright
These moves recover detail when the glare isn't fully clipped.
Step 4: Use an Object-Removal or Retouch Brush for Spots
For leftover spots, use an AI eraser. Our AI Object Remover lets you brush over an unwanted area and fill it from the surroundings. Read how it compares with older techniques in our guide to AI object remover vs. clone stamp and the free magic eraser guide.
Tips for the brush:
- Zoom in and paint a mask slightly larger than the glare
- Work in small passes instead of one big stroke
- Undo and retry if the fill looks smeared
Step 5: Check the Edges and Texture
Zoom to 100% and look for smudges, repeated patterns, or a soft patch that doesn't match the grain around it. Add a touch of sharpening if needed with the Image Sharpener.
Step 6: Export at Full Resolution
Save at the highest quality the plan allows. If the tool downsizes free exports, note that before you start.
How to Remove Glasses Glare from Portrait Photos
This is the most requested fix, and the hardest.
Method 1: Choose a Better Shot First
If you took several frames, compare them. A slightly different angle can move the reflection off the eyes entirely. This beats any edit.
Method 2: Lower Highlights for Soft Glare
If the reflection is faint and the eyes are still visible underneath, reduce highlights locally using a brush or mask in a free editor such as Snapseed, Photopea, or GIMP, then brighten the eyes slightly.
Method 3: Use an AI Eraser for Small Spots
For a small glare dot on the lens, brush over it with an AI remover. The tool fills the area using the surrounding glass and eye. Check that the person still looks like themselves.
What to Avoid
- Don't rebuild an eye from nothing. The result can look unnatural or change the person.
- Don't over-smooth the skin around the glasses.
- If the glare covers the pupil or iris entirely, consider a different photo.
Prevention for Next Time
Ask the person to tilt their head slightly down, or raise the camera angle a little so the reflection falls elsewhere. Turn off the flash, and avoid light sources directly in front of the person.
How to Remove Window and Glass Reflections
Photos Taken Through a Window
Try lowering highlights and boosting contrast to separate the reflection from the scene.
Use a brush to reduce brightness only on the reflection area.
For small, distinct reflections, use an AI remover to fill them.
Reflections across a busy scene are hard to separate, so expect partial results.
Photos of Framed Pictures, Posters, or Screens
Glare on glass over a print is common. Two practical routes:
- Reshoot from an angle where the light doesn't bounce into the lens, or turn off lamps and close curtains.
- Edit the highlight spots with the retouch tools above, then correct perspective if needed.
For documents behind plastic, a flat scan or a shot with soft, even light works far better than any edit.
How to Fix Sunlight Glare and Bright Spots
Soft Sun Glare
Lower highlights and whites, then add a little contrast and saturation back. This often rescues shots with a strong, soft glow.
Hard Sun Spots on Shiny Surfaces
On cars, water, or metal, a hard hotspot may be fully clipped. Try to reduce it and fill with an AI brush, but accept that some shine is part of the scene and removing all of it can look fake.
Overexposed Skies and Backgrounds
If the sky or window behind your subject is too bright, you might recover detail with highlight reduction. If it is pure white, there's nothing to recover. For help with other exposure problems, see how to fix an out-of-focus picture and our guide to enhancing image quality.
How to Remove Flash Glare and Shiny Skin
Flash Hotspots
Flash can leave a bright patch, especially on glossy surfaces. Lower highlights, then use a soft brush to blend the area with its surroundings.
Shiny Faces
Shine on a forehead or nose is easier than glasses. Use a retouch or healing brush on the shiny spots, keep skin texture, and avoid over-smoothing.
Red-Eye
Flash can also cause red eyes. Our guide on removing red-eye from photos shows the fix.
Prevention
Bounce or diffuse the flash, move slightly off-axis, or use natural light.
How to Remove Glare from Scanned Photos and Documents
Photos of printed pictures often show glare from glossy paper.
Scan flat if you can. A flatbed scanner avoids most glare.
If photographing, use soft, even light from two sides, and shoot straight on.
Edit by lowering highlights and using a brush to blend any leftover spots.
Restore faded areas with tools covered in our guide to restoring old photos online for free and photo colorizer.
Don't use AI fill on legal or official documents, since it can alter details.
Best Free Ways to Remove Glare: Tools and Their Limits
"Free" can mean different things. Check the plan, watermark, resolution cap, and privacy policy before you commit.
Browser-Based Tools
- removerhub tools. The AI Object Remover, AI Blur Remover, and Image Sharpener help with spot removal, softness, and cleanup. Check the tool page for current limits.
- Photopea is a free browser editor similar to Photoshop, with healing and clone tools.
- Pixlr and Canva offer online editing with retouch features; their free and paid features change, so verify them.
Mobile Apps
- Snapseed has a Healing tool for small spots and selective adjustments.
- Google Photos and Apple Photos offer editing and, on some devices, built-in cleanup tools. Availability depends on your device and version.
Free Desktop Software
- GIMP is a free desktop editor with healing and clone tools. See the GIMP documentation.
- Darktable is a free option for adjusting raw photos.
Paid Alternatives
Adobe Photoshop and Lightroom offer powerful tools, including content-aware features. See the Adobe Help Center for current details. You don't need them for most glare problems.
What to Check Before Using Any Tool
- Free export resolution and watermark policy
- Whether images are processed locally or on a server
- How long uploads are stored, and whether you can delete them
- Whether your photos may be used to train models
- Whether the tool works on mobile
For privacy, avoid uploading sensitive photos, IDs, or children's pictures to services you don't trust. For more on AI editing risks, the NIST AI Risk Management Framework offers background, and C2PA Content Credentials explains how edits can be recorded.
A Worked Example: Rescuing a Glasses Photo and a Framed Print
This is an illustrative scenario that shows the decisions involved. Your results will vary.
The situation: Amira has a family portrait where one person's glasses show a bright reflection, and a second photo of a framed picture on her wall with a window reflection across it.
Her steps for the portrait:
She checks the other shots from the same moment and finds one where the glare sits slightly lower on the lens.
She still sees a small hotspot, so she lowers highlights on just that area.
She uses an AI eraser to remove a tiny leftover dot, then zooms in to confirm the eye is intact.
She leaves it there, because pushing further would change how the person looks.
Her steps for the framed print:
She decides the reflection covers too much detail to repair.
She turns off the lamp, closes the curtain, and photographs the frame from a slight angle.
The new photo is almost glare-free, so she needs only a light highlight adjustment.
The lesson: The best edit was a better source photo. The tools helped with the small leftovers, and she stopped before the edit started changing the image.
How to Prevent Glare When Taking Photos
A few habits save you hours of editing.
- Change your angle. Move a step left or right until the reflection leaves the frame.
- Tilt the camera or subject. A small tilt can shift glare off lenses and glass.
- Turn off direct flash when shooting reflective surfaces, or bounce it off a wall.
- Use soft, even light instead of a single hard source.
- Use a polarizing filter. A circular polarizer can cut reflections from glass, water, and some surfaces. Cambridge in Colour has a clear explanation of how polarizing filters work.
- Use a lens hood to reduce lens flare.
- Clean your lens. Smudges add haze.
- Shoot a few frames. Small variations give you options.
- Check the screen and zoom in before you leave the scene.
Glare Removal vs. Related Fixes
Different problems need different tools.
- Glare removal targets bright reflections and hot spots.
- Shadow removal targets dark areas. See the Shadow Remover and our guide to removing shadows from photos.
- Sharpening and deblurring fix softness, not glare. See sharpening images online.
- Background removal isolates a subject. See the AI Background Remover.
- Object and people removal deletes things you don't want. See remove object from photo and the AI People Remover.
- Resolution fixes help small images. See upscaling an image without losing quality and convert photo to HD.
Common Mistakes to Avoid
Editing your only copy. Always keep the original.
Expecting AI to reveal hidden detail. Blown-out areas have none.
Painting too big a mask. Large fills look smeared.
Over-smoothing skin. It makes faces look plastic.
Rebuilding eyes. It can change the person's look.
Ignoring the edges. Zoom in before exporting.
Skipping the simple fix. Lowering highlights solves many cases.
Using a tool that shrinks exports. Check the plan first.
Uploading private photos carelessly. Read the privacy policy.
Editing important documents. Reshoot instead of altering details.
Why Choose removerhub
Glare often arrives with other photo problems: blur, shadows, stray objects, or a messy background. removerhub brings practical image tools and plain-language tutorials together so you can handle those jobs in one place.
- Browser-based tools. Edit images without installing heavy software.
- Guides that match the tools. Each tutorial explains what a tool can do and where it falls short.
- Honest expectations. We tell you what AI can fix and what it can't.
- Regular updates. Articles are reviewed as tools and platform rules change.
Browse the removerhub tools page, read more on the removerhub blog, learn about us on the About page, or contact us with questions or corrections. You can also read our privacy policy and terms.
Explore Advanced removerhub tools: AI Object Remover, Image Sharpener, AI Blur Remover, and Shadow Remover.
Frequently Asked Questions
Can I remove glare from a photo without Photoshop?
Yes. Free browser tools, mobile apps, and desktop programs such as GIMP can reduce glare by lowering highlights and filling small spots with an AI or healing brush.
How do I remove glare from a picture for free?
Open the photo in a free editor, lower highlights and whites, then brush over leftover bright spots with an object-removal tool. Check the free plan's resolution and watermark limits first.
Can AI remove reflections from photographs?
AI can often fill small reflections using nearby pixels. It can't recover detail that the camera never recorded, so heavy reflections may look artificial.
How do I remove glare from glasses in a photo?
Choose a shot with less glare if you have one, lower highlights locally, and use an AI eraser for small spots. Avoid rebuilding the whole eye, since it can change how the person looks.
How can I remove sunlight reflection from a picture?
Reduce highlights and whites, restore contrast, and brush out small hot spots. If the area is pure white, some detail can't be recovered.
Why do my photos have bright white spots?
Light is bouncing off a shiny surface into the lens, or the flash is reflecting straight back. When the spot is fully white, the camera recorded no detail there.
Can I fix glare in an already saved photograph?
Yes, partly. Editing can reduce glare in a saved file, but results depend on how much detail remains under the bright area.
How do I remove window reflection from a picture?
Lower highlights, boost contrast, and use a brush or AI fill on small reflections. For best results, reshoot at an angle with lights off.
Does removing glare reduce image quality?
Editing doesn't have to, but quality can drop if a tool downsizes your export or compresses it heavily. Export at full resolution when possible.
Can I remove flash glare from someone's face?
Often, yes. Lower highlights, then use a healing or AI brush on the shiny spots while keeping skin texture.
How do I remove glare from old printed photographs?
Rescan on a flatbed, or photograph with soft, even light. Then reduce highlights and blend leftover spots.
How can I prevent glare when taking pictures?
Change your angle, tilt the subject, turn off direct flash, use soft light, add a polarizing filter, and clean the lens.
Key Takeaways and Next Steps
Glare is fixable more often than you'd think, but only up to a point.
Identify the glare type: glasses, window, sun, flash, or lens flare.
Keep your original, and pick the best frame you have.
Start simple: lower highlights, then add contrast back.
Use an AI eraser for spots, in small passes.
Check the edges at full zoom.
Know the limits: blown-out areas can't be restored.
Protect your privacy before uploading personal photos.
Prevent glare with better angles, softer light, and a polarizer.
What to do next:
- Pick one photo with glare and try the simple highlight fix first.
- Brush out any leftover spot with the AI Object Remover.
- Compare the result with your original at full zoom.
- Next time you shoot, take two or three angles.
Ready to go further? Book a seat at Advance Free Tools offered by removerhub, and explore more tutorials on the removerhub blog.