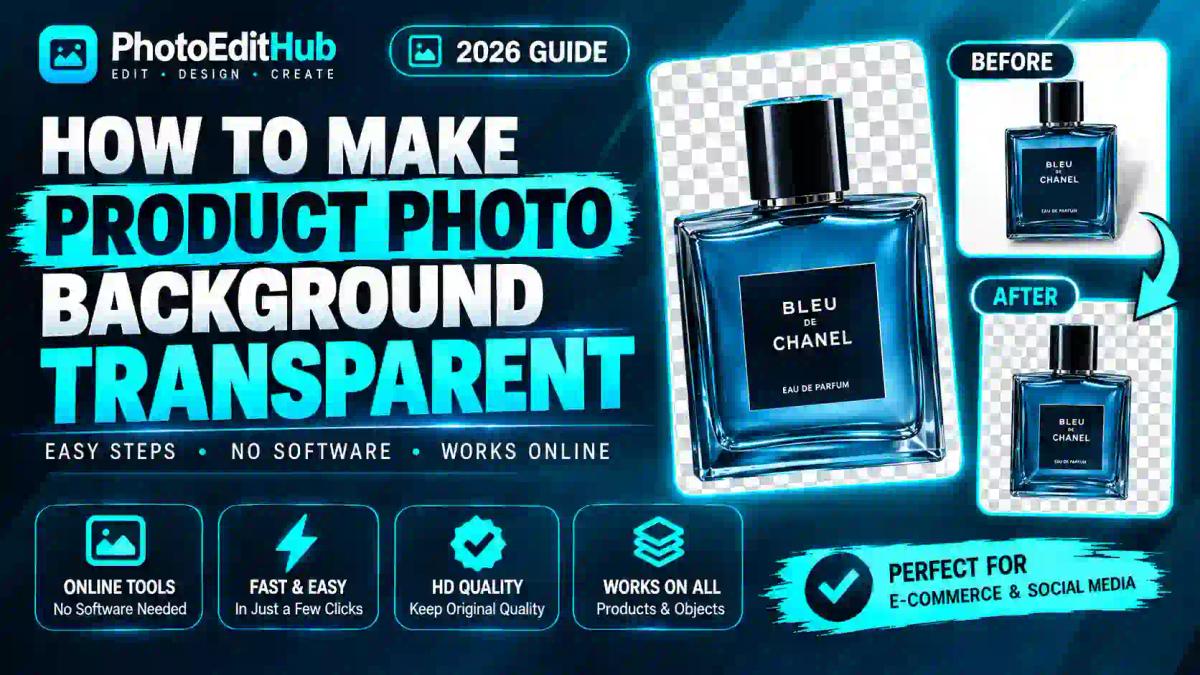
How to Make a Product Photo Background Transparent
If you sell anything online — jewelry, clothing, electronics, handmade crafts — you've probably run into the same wall: your product photo looks fine, but that background is holding it back. A cluttered kitchen counter, a wrinkled bedsheet, or even a plain white wall can make a product look unprofessional next to competitors who nailed the clean, transparent look.
Making a product photo's background transparent isn't just a cosmetic trick. It's one of the fastest ways to make listings look store-ready, boost trust with buyers, and meet strict marketplace requirements like Amazon's white-background rule. In this guide, you'll learn exactly what a transparent background is, why it matters, and several practical ways to create one — from free browser tools to AI-powered editors like removerhub's AI background remover.
What Does "Transparent Background" Actually Mean?
A transparent background means the area around your subject has no color or pixels at all — it's see-through. When you place that image over a website, a colored banner, or another photo, whatever is behind it shows through instead of a white or colored box.
Technically, this works through something called an alpha channel. Most images only store three color channels — red, green, and blue (RGB). A transparent image adds a fourth channel that controls opacity, pixel by pixel. That's why transparent images are usually saved as PNG files rather than JPG, since JPG doesn't support transparency at all. If you want the more technical breakdown, Wikipedia's page on alpha compositing explains the underlying image science well.
In plain terms: a transparent PNG lets your product "float" on any background — white, colored, lifestyle scene, or another product photo — without any leftover box or halo around it.
Why Transparent Backgrounds Matter for Product Photography
It's tempting to think this is just a nice-to-have. In reality, it solves several very concrete problems for online sellers.
1. Marketplace compliance. Amazon requires main product images to have a pure white background, and having a transparent master file makes it trivial to generate that white version — you just place it on a white canvas. The same transparent file can then be reused for Etsy, your own Shopify store, or Instagram without re-shooting anything.
2. Visual consistency. If every product photo in your catalog has a different background — one has a wooden table, another has a plain wall — your store looks disorganized. A transparent background lets you standardize every listing on the same clean backdrop instantly.
3. Faster creative production. Marketing teams reuse transparent product cutouts constantly: banner ads, email campaigns, seasonal sale graphics, product bundle images. Once you have a transparent PNG, you're not re-editing the photo every time you need a new background — you just drop it onto a new one.
4. Better perceived quality. Studies on e-commerce conversion consistently show that clean, professional product imagery increases buyer trust and reduces returns, because customers have a clearer, more accurate view of exactly what they're buying.
If you're setting up a store on Etsy or Shopify specifically, this Etsy and Shopify background remover guide walks through platform-specific image requirements in more detail.
Method 1: Using an AI Background Remover (Fastest, Beginner-Friendly)
For most sellers, an AI-powered background remover is the quickest route from "cluttered photo" to "transparent PNG." These tools use machine learning models trained to detect the edges of a subject — a shoe, a bottle, a piece of jewelry — and separate it from everything behind it in seconds.
Here's a simple workflow using a tool like removerhub's background remover for product photos:
Upload your image. Most tools accept JPG, PNG, or WEBP files directly from your device.
Let the AI detect the subject. The tool automatically identifies the product and separates it from the background — no manual selection needed for most shots.
Check the edges. Zoom in on fine details like hair, fabric strands, or jewelry chains, since these are the trickiest areas for any AI model.
Refine if needed. Many tools include a manual eraser or restore brush so you can clean up small mistakes around edges.
Download as PNG. This preserves the transparency; downloading as JPG will flatten it onto a white background and undo the effect.
The advantage of AI tools is speed — what takes 10–15 minutes in Photoshop can take under 30 seconds. The trade-off is that very complex images (transparent glass, wispy fur, motion blur) sometimes need manual touch-ups afterward.
If you're specifically dealing with sharpness issues after removal, pairing it with an image sharpener tool can clean up any softness left around the edges.
Method 2: Using Canva
Canva has become a go-to design tool for small business owners because it doesn't require any design background. Its background remover is built into the Pro plan and works similarly to dedicated AI tools, though it's optimized more for design flexibility than raw editing precision.
To do it in Canva:
- Upload your product photo into a new design.
- Select the image, then choose the "Background Remover" option from the edit panel.
- Canva automatically detects and removes the background, leaving a transparent PNG.
- Use the eraser or restore tool to fix any missed areas.
- Download the image as a PNG with transparency enabled.
Canva works well if you're already building your product graphics inside the platform — for example, creating a full Instagram post or banner around the cutout. If you're comparing whether Canva alone is enough for serious product photo editing, this breakdown of whether Canva can make images transparent covers the limitations in more depth.
Method 3: Using Photoshop (Most Control, Steepest Learning Curve)
Photoshop remains the industry standard for professional photo editing, and it gives you the most granular control over exactly how a background is removed. This matters most for products with tricky edges — fur, hair, glass, or transparent liquids.
A typical Photoshop workflow includes:
Duplicate the layer so you always have an unedited backup.
Use the Object Selection Tool or Select Subject to create an initial rough selection around the product.
Refine the edge using the Select and Mask workspace, which lets you brush in fine detail around hair or fabric.
Add a layer mask rather than deleting pixels outright — this keeps your edit non-destructive and easy to adjust later.
Export as PNG-24 to preserve full transparency and color depth.
Photoshop is overkill for a seller who just needs 20 quick product shots edited today, but it's the right tool when quality control matters more than speed — think high-end jewelry, luxury goods, or print catalog photography.
Method 4: Removing Backgrounds on Your Phone
Not every seller has access to a laptop when they need to edit photos quickly. Mobile apps and mobile-optimized web tools have gotten good enough that many sellers now do their entire product photography workflow — shoot, edit, upload — directly from a phone.
The general process on mobile is nearly identical to desktop AI tools: open the tool in your phone's browser or app, upload the photo from your camera roll, let the AI process it, then save the transparent PNG back to your device or directly to your store's app. The main thing to watch for on mobile is file size and resolution — some apps compress images more aggressively, so it's worth checking the exported file at full size before uploading it to a live listing.
Comparing the Methods
| Method | Speed | Skill Needed | Best For |
|---|---|---|---|
| AI background remover | Seconds | None | Bulk product photos, quick turnaround |
| Canva | 1–2 minutes | Low | Sellers who also design graphics in Canva |
| Photoshop | 10–20 minutes | High | Complex edges, premium/luxury product shots |
| Mobile apps | 1–2 minutes | None | On-the-go sellers, quick listings |
There isn't a single "best" method for everyone — it depends on volume, complexity, and how much manual control you want. Many sellers actually use a hybrid approach: AI tools for 90% of their catalog, and Photoshop only for the handful of hero shots that need pixel-perfect precision.
Common Mistakes When Making Backgrounds Transparent
Even with good tools, a few recurring mistakes show up constantly in product catalogs:
- Saving as JPG instead of PNG. JPG cannot store transparency, so the moment you export in that format, the see-through background disappears and gets replaced with white or black.
- Ignoring fine edges. Jewelry chains, fabric fringes, and glasses frames are the most commonly botched areas — always zoom to at least 200% before finalizing.
- Leaving a faint color halo. This happens when the original background color bleeds slightly into the subject's edge pixels, often visible as a thin white or gray outline once placed on a colored backdrop.
- Over-compressing the file. Some platforms auto-compress uploads, which can degrade edge quality. Always check the final image at full resolution before publishing.
- Skipping shadow considerations. A product floating with zero shadow can look artificial. Adding a subtle drop shadow after background removal often makes the image look more natural, especially for lifestyle-style listings.
If you're dealing with lower-quality source images to begin with, running them through an HD background remover before final export tends to produce noticeably cleaner edges than standard-resolution tools.
Real-World Use Cases
Amazon sellers typically keep a transparent master PNG of every product, then generate a white-background version for the mandatory main image and use the transparent version for secondary lifestyle composites.
Etsy shop owners selling handmade goods often use transparent cutouts to create seasonal banner graphics — for example, placing the same product photo onto a holiday-themed background for a limited-time promotion, without ever reshooting the product.
Print-on-demand businesses rely heavily on transparent PNGs to place a single product mockup — a mug, a t-shirt design — onto dozens of different colored backgrounds or model photos.
LinkedIn and professional profiles also benefit from the same underlying technique — this guide on creating a clean LinkedIn photo background applies the same transparency principles to personal branding rather than products.
How This Fits Into a Bigger Product Photography Workflow
Background removal is rarely the only edit a product photo needs. Once the background is transparent, sellers often follow up with:
- Sharpening the subject if the original shot was slightly soft
- Removing dust spots, fingerprints, or small blemishes on the product itself
- Adding a subtle shadow or reflection for realism
- Compositing the product into a lifestyle scene or bundle graphic, as covered in this product bundle photography guide
Treating background removal as step one — rather than the entire job — is what separates amateur-looking listings from ones that look like they came from an established brand.
Free vs. Paid Tools: What's the Real Difference?
Free background removers are genuinely good enough for most everyday product photos today, especially with modern AI models. Where paid tiers usually earn their price is in three areas: batch processing (editing dozens or hundreds of images in one pass instead of one at a time), higher output resolution (important for print catalogs or large banner ads), and no watermark on the final export.
If you're only editing a handful of images occasionally, a free tool like removerhub's transparent image maker is usually sufficient. If you're running an active store with a growing catalog, the time saved by batch tools tends to justify the cost fairly quickly.
Frequently Asked Questions
Is it free to make a background transparent?
Yes, most background removal tools, including AI-based ones, offer a free tier that handles single images without cost. Paid plans typically unlock batch processing, higher resolution exports, and watermark-free downloads.
Can I make a background transparent on my phone?
Yes. Mobile browsers can access most web-based background removers directly, and there are also dedicated mobile apps that perform the same AI-based removal without needing a computer.
What file format should I save a transparent image in?
Always save as PNG. JPG files do not support transparency, so exporting in that format will replace the transparent area with a solid color, usually white.
Does removing the background reduce image quality?
Not inherently. Quality loss usually comes from heavy compression during export or from starting with a low-resolution source image, not from the removal process itself.
Can AI accurately remove backgrounds from complex images like hair or fur?
Modern AI models handle most cases well, but very fine detail like flyaway hair or transparent glass can still require manual touch-ups afterward for a completely clean result.
How is background removal different from background replacement?
Background removal leaves the area transparent so you can place the subject anywhere. Background replacement goes one step further and immediately swaps in a new background image or solid color during the same process.
Final Takeaway
Making your product photo's background transparent isn't a nice extra — it's become a baseline expectation for anyone selling online, whether on Amazon, Etsy, Shopify, or their own site. The good news is that it's no longer a task that requires expensive software or years of Photoshop experience. AI tools have made a genuinely professional result achievable in under a minute for most product shots, while Photoshop remains available for the rare case that needs pixel-level precision.
The practical next step: pick one tool, run a few of your existing product photos through it, and compare the results side by side. Once you see how much cleaner your listings look, it becomes hard to go back to plain background photos. If you want to start immediately, removerhub's AI background remover is a solid first stop for testing this on your own catalog.