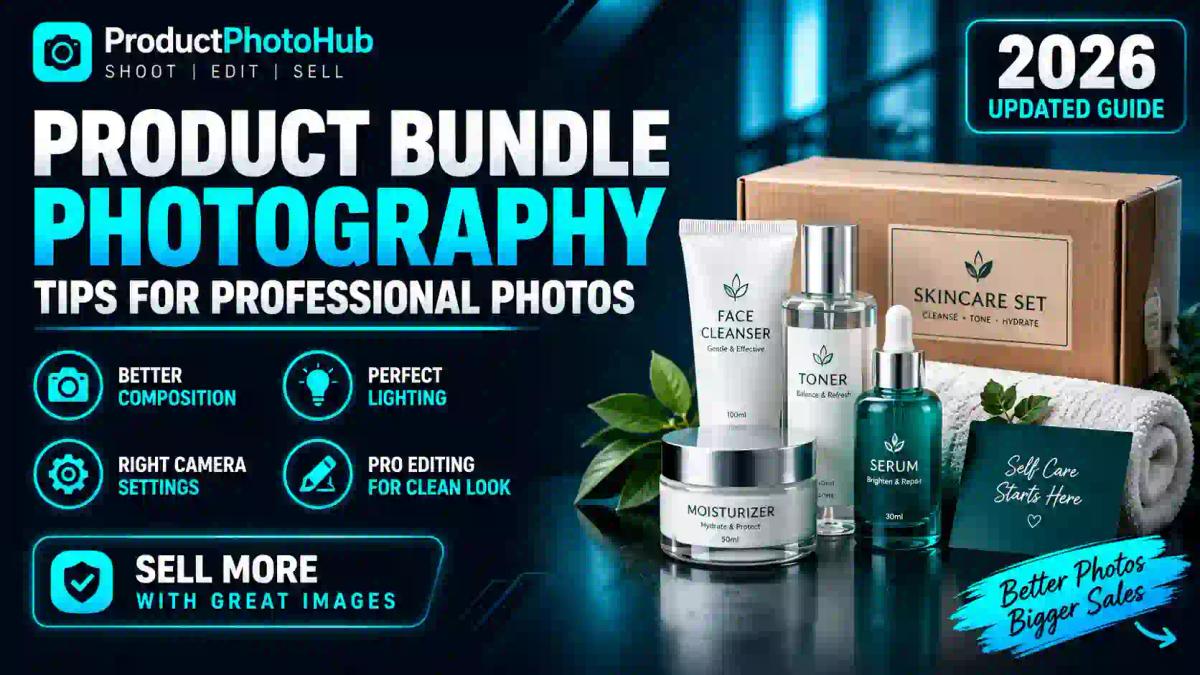
Product Bundle Photography: Tips for Professional Photos
Photographing a single product is straightforward. Photographing a bundle — three skincare items, a five-piece tool kit, or a gift set with six components — is a different challenge entirely. Suddenly you're managing multiple shapes, sizes, colors, and reflective surfaces in one frame, and if even one element looks out of place, the whole photo feels messy.
This guide walks through exactly how professional product photographers plan, style, light, and edit bundle photography so that every set looks cohesive, premium, and ready to convert browsers into buyers — whether you're shooting for Amazon, Shopify, Etsy, or your own online store.
What Is Product Bundle Photography?
Product bundle photography is the process of photographing two or more related items together in a single, visually balanced image so the customer instantly understands what they're getting. Think of a skincare trio, a stationery kit, a tech accessory pack, or a curated gift box.
Unlike single-product shots, bundle photography has to communicate the relationship between items — that they belong together, work together, or complement each other — while still keeping each individual product recognizable and clear.
This is different from a simple flat lay or lifestyle shot. A bundle photo has a job to do: it has to sell the value of the group, not just the appeal of one object.
Why Bundle Photography Matters More Than You Think
Customers rarely buy a bundle blind. They want to see exactly what's included before they commit to a higher price point. According to Adobe's guide to product photography, clear, well-composed product imagery directly affects buyer confidence and reduces the hesitation that leads to abandoned carts.
For bundles specifically, poor photography creates three common problems:
- Confusion about contents — shoppers can't tell what's actually included in the price.
- Perceived clutter — a disorganized bundle photo makes the product look cheap, even if the items themselves are premium.
- Lost upsell potential — bundles typically carry higher margins than single items, so a bad photo directly costs you revenue.
A well-shot bundle photo, on the other hand, does the selling for you. It shows scale, quantity, and quality in one glance — which is exactly what shoppers scan for in the first three seconds on a product page.
Planning Your Bundle Shoot Before You Touch a Camera
Most photographers rush straight to lighting and camera settings. That's a mistake. The real work happens before the shutter clicks.
1. Decide on Your Composition Style
There are three common approaches to shooting product sets:
- Flat lay — items arranged on a flat surface, shot from directly above. Ideal for cosmetics, stationery, and smaller kits.
- Grouped standing shot — items arranged upright, at eye level, with slight overlap for depth. Works well for skincare bottles, candles, or boxed products.
- Hero + supporting layout — one main item in focus, with the rest arranged around or behind it to show it's part of a set.
Choosing the right style depends on your product category. A jewelry set photographs beautifully as a flat lay, while a kitchen gadget bundle often looks more natural standing upright with a slight diagonal arrangement.
2. Map Out the Product Hierarchy
Not every item in a bundle deserves equal visual weight. Decide which product is the "anchor" — usually the largest, most expensive, or most recognizable item — and build the composition around it. Smaller accessories should support the anchor, not compete with it.
3. Sketch the Layout First
Before setting anything up physically, sketch a rough thumbnail of your intended composition. This saves enormous time during the actual shoot and prevents that frustrating "nothing looks right" moment once the lights are already on.
Choosing the Right Background and Setup
Background choice affects how "premium" your bundle looks more than almost any other variable.
- Pure white background — the e-commerce standard, especially required by marketplaces like Amazon. It keeps focus entirely on the products.
- Neutral textured surface (linen, light wood, stone) — adds warmth for lifestyle or gift-set photography without distracting from the items.
- Colored backdrop matching brand palette — useful for brand consistency across a product catalog.
If budget is tight, a large sheet of white foam board or seamless paper works just as well as an expensive studio backdrop. What matters is that the surface is clean, wrinkle-free, and large enough to fit the entire bundle with breathing room around the edges.
If you photograph on a busier surface and need a clean white background afterward, tools like a background remover for product photos can isolate the entire bundle and drop it onto pure white or transparent backgrounds in seconds — useful when you're shooting in a home studio without a dedicated white sweep.
Lighting Techniques for Multi-Item Photography
Lighting a single product is relatively forgiving. Lighting five products at once, each with different surfaces (matte cardboard, glossy plastic, glass, fabric), is where most bundle shoots fall apart.
Use Diffused, Even Lighting
Harsh direct light creates hotspots on glossy items and deep shadows on matte ones, making the bundle look inconsistent. A large softbox or diffusion panel on either side of the setup spreads light evenly across all products regardless of their surface finish.
Position Two Light Sources at 45-Degree Angles
Placing one light source at roughly 45 degrees on each side of the bundle eliminates harsh single-direction shadows and keeps every item — front row and back row — evenly lit.
Control Reflections on Glossy Items
If your bundle includes glass, glossy plastic, or metallic packaging, use a large diffuser (even a white bedsheet stretched over a frame) between the light and the product to soften reflections. A polarizing filter on your lens can also cut down glare on reflective surfaces.
Watch Your Shadows Between Items
When products are placed close together, they cast shadows onto each other. Leave small gaps between items or angle them slightly so shadows fall outward rather than onto neighboring products. If shadows still appear too dark or distracting after the shoot, a dedicated shadow remover tool can clean up unwanted shadow buildup between grouped items during post-production.
Camera Settings That Actually Matter for Bundle Shots
You don't need professional-grade equipment to get sharp, clean bundle photos — even a mid-range DSLR or a recent smartphone camera can produce excellent results if the settings are right.
- Aperture (f-stop): Use f/8 to f/11. A narrower aperture increases depth of field, keeping both front-row and back-row items in focus — critical for bundles since items sit at different distances from the lens.
- ISO: Keep it as low as possible (100–200) to avoid graininess, since you'll be using strong external lighting rather than relying on high ISO.
- Shutter speed: Since products don't move, a slower shutter speed (1/60 or lower) is fine as long as the camera is on a tripod.
- Focus: Switch to manual focus and focus roughly one-third into the depth of the arrangement — this maximizes sharpness across the entire set rather than just the front item.
- White balance: Set manually rather than using auto white balance, especially under mixed lighting, to keep colors accurate and consistent across every item in the bundle.
A sturdy tripod is non-negotiable here. With a narrower aperture and lower ISO, shutter speeds slow down, and any hand movement will blur fine details across the whole frame.
Styling Tips That Make Bundles Look Curated, Not Cluttered
Styling is where bundle photography either looks intentional or accidental. A few practical rules professional stylists rely on:
Group by color story, not just category. If your bundle includes items of different colors, arrange them so the eye moves naturally across the frame rather than jumping between clashing tones.
Use the rule of odd numbers. Groupings of three or five items generally look more visually pleasing and balanced than even numbers, which can appear too symmetrical or rigid.
Leave negative space. Resist the urge to fill every inch of the frame. Empty space around the bundle actually makes the products look more premium and gives the eye room to rest.
Overlap slightly for depth. Placing items in a single flat row looks static. A slight overlap — one item partially behind another — creates depth and a more natural, curated feel.
Add minimal, relevant props only. A small sprig of eucalyptus next to a skincare set, or a folded cloth under a kitchen bundle, can add context. But every prop you add should support the product story, not distract from it. When in doubt, remove the prop.
Shooting Bundles for Different Platforms
Different marketplaces have different technical requirements, and ignoring them can get your listing rejected or ranked lower in search results.
| Platform | Background Requirement | Recommended Aspect Ratio | Notes |
|---|---|---|---|
| Amazon | Pure white (RGB 255,255,255) | 1:1 square | Main image must show only the product, no props or text |
| Shopify | Flexible, brand-dependent | 1:1 or 4:5 | Consistency across your catalog matters more than the platform enforcing rules |
| Etsy | Flexible, lifestyle-friendly | 4:5 or 1:1 | Styled, contextual shots often outperform plain white backgrounds |
| Instagram/Social | Flexible | 4:5 or 1:1 | Lifestyle and behind-the-scenes bundle shots perform well |
If you're selling the same bundle across multiple platforms, shoot with the strictest requirement (usually Amazon's plain white background) first, then create styled variations for Etsy or social media afterward. A tool built specifically for background removal on Etsy and Shopify listings can help you repurpose one core shoot into multiple platform-ready versions without re-shooting.
Post-Processing: Making the Bundle Photo Consistent
Editing bundle photography isn't about heavy retouching — it's about consistency. Every item in the set needs to match in exposure, color temperature, and sharpness, or the bundle will look assembled rather than photographed together.
Step 1: Correct Exposure and White Balance First
Fix global exposure and white balance before touching individual items. This ensures the whole bundle sits on a consistent tonal baseline.
Step 2: Even Out Color Casts Between Items
Different packaging materials (cardboard vs. plastic vs. glass) can pick up slightly different color casts under the same lighting. Use selective color correction to bring each item's whites and neutrals back in line with the rest of the set.
Step 3: Sharpen Selectively
Rather than applying a blanket sharpening filter, sharpen the front-row, in-focus items more strongly than background items to preserve natural depth. If your original shots came out slightly soft, an AI image sharpener can recover crisp detail on product labels and textures without introducing digital noise.
Step 4: Clean the Background
For marketplace listings, the background needs to be flawless — no dust, no shadows creeping in from the edges, no color unevenness. Running the final image through an HD background remover gives you a clean, pixelation-free white or transparent background that meets marketplace standards even if your original studio setup wasn't perfect.
Step 5: Final Quality Check
Zoom into 100% and check every individual item for dust spots, fingerprints, or stray fibers — these are far more noticeable in a multi-item shot because the eye has more surface area to scan.
Real-World Example: Shooting a Skincare Gift Set
Say you're photographing a five-piece skincare bundle: cleanser, toner, serum, moisturizer, and a small gift box.
Anchor item: The moisturizer jar (largest, most premium-looking) becomes the visual center.
Arrangement: Cleanser and toner are placed slightly behind and to the left, serum to the right, and the gift box angled at the front-right corner to show it's part of the set.
Lighting: Two softboxes at 45 degrees, plus a small reflector card bounced under the bottles to soften shadows on the white surface.
Camera: f/10, ISO 100, manual focus locked one-third into the arrangement, tripod-mounted.
Editing: Correct white balance so all five packaging materials read as true white, sharpen the front-row items, and clean the background to pure white for the marketplace listing — then create a warmer, styled version with a linen backdrop for the Etsy listing.
This same workflow scales to tech bundles, tool kits, stationery sets, or any multi-item product — only the props, background tone, and lighting softness change based on the product's material and target platform.
Common Mistakes to Avoid
- Overcrowding the frame — trying to show every item at full size instead of letting the composition breathe.
- Inconsistent lighting between items — usually caused by uneven diffusion or shadows from neighboring products.
- Ignoring platform-specific background rules — leading to rejected listings on marketplaces like Amazon.
- Using autofocus on a static setup — small focus shifts between shots make it harder to composite or retouch consistently later.
- Skipping a test shot — always take one test frame and zoom in before running the full shoot; catching a lighting issue early saves hours of reshooting.
Frequently Asked Questions
How do you photograph product sets? Arrange items by visual hierarchy with one anchor product, use diffused lighting from two 45-degree angles, shoot at a narrow aperture (f/8–f/11) for full depth of field, and keep the background clean and consistent with your platform's requirements.
What is the best background for bundle photography? Pure white works best for marketplaces like Amazon, while neutral textured surfaces such as linen or light wood suit lifestyle and gift-set photography on platforms like Etsy or Instagram.
How do you arrange products for a photo? Group items using the rule of odd numbers, place the largest or most important item as the anchor, overlap pieces slightly for depth, and leave negative space so the composition doesn't feel crowded.
What camera settings are best for product bundle photography? Use f/8–f/11 for depth of field, ISO 100–200 to minimize noise, manual focus set one-third into the arrangement, and a tripod to keep everything sharp across a slower shutter speed.
How do you photograph gift sets professionally? Treat the box or packaging as part of the composition, use soft, even lighting to avoid harsh shadows on ribbons or glossy wrapping, and shoot both a clean marketplace version and a styled lifestyle version for different platforms.
Can I photograph product bundles with a phone? Yes — modern smartphone cameras can produce excellent bundle photos if you use natural diffused light (like a north-facing window), a tripod or stable surface, and manual focus/exposure lock to keep every item sharp.
How many products should be in a bundle photo? There's no fixed number, but odd groupings of three to five items tend to photograph more naturally than larger, cluttered arrangements. If a bundle has more than five items, consider a hero + supporting layout instead of an even grid.
Final Takeaway
Great bundle photography isn't about expensive equipment — it's about deliberate planning, consistent lighting, and disciplined post-processing. Nail the composition and lighting during the shoot, then use the right editing tools to clean up backgrounds, correct color consistency, and sharpen detail so every item in the set looks like it belongs together.
If you're building out a full product catalog, start by testing your bundle shots through a free product photo editing tool to see how a clean background transforms the perceived value of your set — then refine your lighting setup shot by shot until the process becomes second nature.