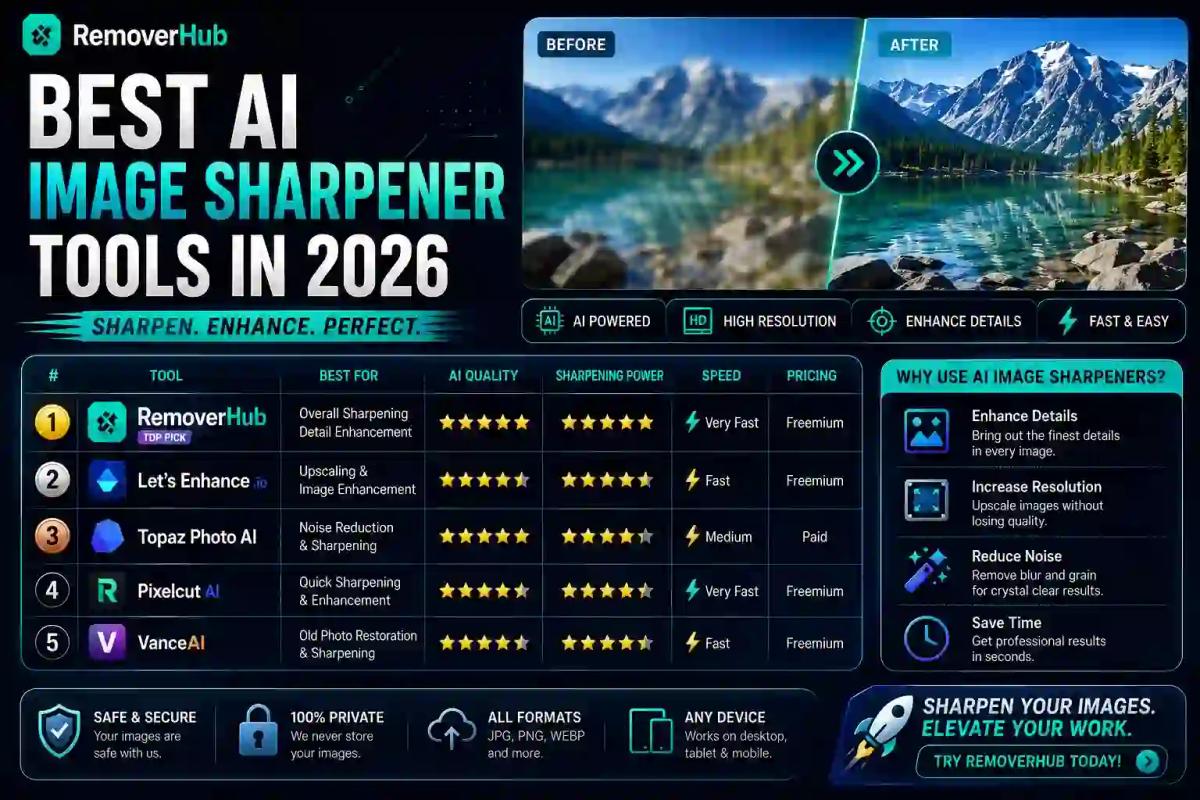
Best AI Image Sharpener Tools in 2026
If you've ever zoomed into an old family photo or a product shot and watched it dissolve into mush, you already know the problem AI sharpeners exist to solve. Modern AI image sharpeners use deep learning models — not the old unsharp-mask filter your phone's camera app applies — to actually reconstruct fine detail and edges in blurry or low-resolution photos. The strongest 2026 tools combine sharpening, denoising, and upscaling in a single pass, which is why they consistently outperform anything Photoshop's manual sharpen tool could do a decade ago.
This guide breaks down how AI sharpening actually works, compares the tools worth your time in 2026, and helps you pick the right one depending on whether you're fixing a product photo, an old family portrait, or a screenshot that needs to print clearly.
How AI Image Sharpening Actually Works
It's worth understanding the difference here, because it explains why AI tools succeed where traditional filters fail.
Traditional sharpening (the kind built into Photoshop, GIMP, or your phone's camera roll) works by boosting contrast along edges — the unsharp mask technique. It makes an image look crisper by exaggerating the transition between light and dark pixels, but it can't add detail that isn't already there. Push it too far and you get the classic over-sharpened look: harsh white outlines, crunchy textures, halos around edges.
AI sharpening works completely differently. Deep learning models — often convolutional neural networks trained on millions of sharp-to-blurry image pairs — learn to predict what fine detail should exist based on patterns in the blurred input. Instead of exaggerating existing edges, the model reconstructs texture, hair strands, fabric weave, and facial features that were genuinely lost in the blur. This is why AI tools can meaningfully improve a low-resolution or motion-blurred photo in a way a sharpen filter never could.
There's an important nuance worth knowing here: not all AI sharpening is doing the same thing under the hood. Some tools reconstruct — they infer detail that's mathematically consistent with the blurred data. Others, particularly face-focused mobile apps, lean toward generation — producing plausible-looking detail that's statistically likely rather than provably accurate to the original. For a product photo or a landscape, that distinction barely matters. For restoring a deceased relative's only surviving photo, it matters quite a bit, since a generative model can subtly alter facial features rather than recover them.
What Type of Blur Are You Actually Fixing?
Not all blurry photos have the same problem, and the fix that works for one won't necessarily work for another.
- Motion blur — caused by camera or subject movement during the shot, producing directional streaking. AI models trained specifically on motion-blur correction can often recover surprisingly sharp results here, since the blur pattern is predictable.
- Out-of-focus blur — the subject simply wasn't in the camera's focal plane. This is harder to correct than motion blur because detail wasn't captured at all, just smeared uniformly.
- Low-resolution blur — the image is technically sharp but too small or heavily compressed, so upscaling introduces blockiness. This is where AI upscaling and sharpening work together, since enlarging the image and reconstructing detail happen in the same pass.
- Compression artifacts — JPEG or WebP compression can introduce blocky noise that looks like blur at high zoom. This needs denoising as much as sharpening, since sharpening alone can amplify the compression blocks.
Knowing which category your image falls into helps set realistic expectations. A motion-blurred photo of a moving car has a much better shot at recovery than a badly out-of-focus portrait shot at the wrong distance.
Best AI Image Sharpener Tools Compared
| Tool | Best For | Free Option | Processing | Batch Support |
|---|---|---|---|---|
| Removerhub Image Sharpener | Quick browser-based sharpening for everyday photos, no install needed | Yes | Cloud | Yes |
| Topaz Photo AI | Professional RAW photography, desktop workflows, no cloud upload | No (paid, one-time or subscription) | Local desktop | Yes |
| LetsEnhance | High-resolution output for print and posters, up to very large max resolution | Limited free credits | Cloud | Yes |
| Remini | Fast mobile face restoration on old or low-quality portraits | Yes (limited tier) | Cloud/mobile | No |
A few things worth calling out from this comparison. Topaz Photo AI consistently ranks as the strongest desktop option for photographers working with RAW files, since it keeps processing local rather than uploading to the cloud — a meaningful consideration if you're working with unpublished or confidential images. LetsEnhance leans toward high-resolution output for print work, supporting a wide range of source types from phone photos to scanned documents. Remini remains the go-to for quick, one-tap mobile face fixes, though it leans more generative than reconstructive, which matters for restoration work specifically.
For everyday sharpening needs — a product photo that needs cleanup before listing, a screenshot that needs to read clearly, a slightly soft portrait — a browser-based tool like Removerhub's image sharpener covers the job without installing desktop software or committing to a subscription, which is exactly the gap most casual users are trying to fill.
Free vs. Paid AI Sharpeners: What's the Real Difference?
This is worth being honest about rather than glossing over. Free AI sharpening tools generally run on lighter, less computationally expensive models, which means faster processing but less dramatic detail reconstruction on genuinely difficult images. For moderate blur — a slightly soft phone photo, mild compression artifacts — free tools handle the job well.
Paid tools, particularly desktop software like Topaz Photo AI, run heavier models capable of reconstructing significantly more detail from severely degraded images, and they typically process locally rather than through a cloud queue, which matters for speed and privacy on large batches. If you're restoring dozens of archival family photos or preparing images for large-format printing, that gap becomes noticeable. For a single blurry photo you need fixed today, it usually isn't.
A practical rule: try a free tool first. If the result looks close but not quite there, that's the signal to consider a paid option rather than assuming you need one from the start.
How to Sharpen a Blurry Image Online (Step-by-Step)
Upload your image to your chosen tool — most browser-based sharpeners accept JPG, PNG, and WebP directly.
Select the correct mode if the tool offers one — motion blur, low-resolution upscale, and general sharpen often use different underlying models.
Preview before committing — a good tool shows a before/after comparison so you can judge whether the result looks natural rather than over-processed.
Adjust intensity if available — some tools let you dial sharpening strength up or down; err toward less aggressive settings for portraits, since over-sharpened skin texture looks distinctly artificial.
Download in your needed resolution — confirm the output resolution matches your intended use, especially for print, where a screen-resolution export will look soft once enlarged.
For a closer walkthrough specifically on the free browser route, our dedicated guide on how to sharpen a blurry image online for free covers the process in more depth, including common mistakes that lead to over-processed results.
Sharpening Old Photos: A Different Problem Entirely
Restoring an old family photo isn't quite the same task as sharpening a slightly soft phone snapshot, and it's worth treating separately. Old photos typically combine several problems at once — physical degradation, scanning artifacts, faded contrast, and genuine loss of detail from the original film or print quality.
For this category specifically, the reconstruction-versus-generation distinction matters most. A tool that reconstructs based on the actual scanned data will produce a more faithful (if less dramatically "wow") result than one that generates plausible-looking detail. If the photo has sentimental or memorial significance, it's worth prioritizing accuracy over maximum sharpness, even if a more aggressive tool produces a flashier before/after comparison.
Sharpening for Product Photography
E-commerce sellers have a specific set of needs that general-purpose sharpeners don't always address well: consistency across a large batch, sharp product edges without introducing artificial texture on smooth surfaces like glass or metal, and output resolution that holds up when a customer zooms in on a marketplace listing.
Batch processing matters more here than in almost any other use case — sharpening fifty product photos one at a time isn't a realistic workflow for most small sellers. If your primary need is product photography specifically, it's worth pairing sharpening with a dedicated background remover for product photos, since clean product shots typically need both fixes applied together rather than as separate steps.
Common Mistakes When Sharpening Images
A few patterns show up constantly and are worth avoiding:
- Over-sharpening portraits. Pushing sharpening intensity too high on skin introduces a crunchy, artificial texture that reads immediately as over-processed — dial back further than feels necessary on faces specifically.
- Sharpening before denoising. If an image has visible noise or compression artifacts, sharpening first will amplify that noise rather than clean detail. Denoise, then sharpen, not the other way around.
- Ignoring output resolution. A sharpened image exported at low resolution will still look soft once printed or enlarged, regardless of how good the sharpening itself was.
- Assuming AI can fix everything. Severely out-of-focus or extremely low-resolution source images have genuine limits — AI reconstruction works from patterns in the data that exists, and a photo with almost no recoverable detail will still show its limits after processing.
Frequently Asked Questions
What is the best AI tool to sharpen images? It depends on your use case. For quick, browser-based sharpening with no install, a tool like Removerhub's image sharpener covers everyday needs. For professional RAW photography workflows, Topaz Photo AI is the more established desktop option, while Remini leads for fast mobile face restoration specifically.
Can AI actually fix a blurry photo? Yes, to a meaningful degree — AI sharpening reconstructs detail based on learned patterns from millions of training images, which genuinely recovers texture and edges that traditional sharpening filters can't. Results vary by blur type, with motion blur generally responding better than severe out-of-focus blur.
Is there a free AI image sharpener? Yes, several browser-based tools offer free sharpening, including Removerhub's image sharpener. Free tools typically run lighter models than paid desktop software, which works well for moderate blur but shows more limitations on severely degraded images.
How does AI image sharpening work? AI sharpening uses deep learning models trained on sharp-to-blurry image pairs to predict and reconstruct fine detail, rather than simply boosting contrast along existing edges like traditional sharpening filters do. This allows it to recover texture and detail that appears genuinely lost in the blur.
Does sharpening an image reduce its quality? Over-sharpening can introduce artificial-looking artifacts, halos, and crunchy texture, particularly on skin and smooth surfaces. Used at a reasonable intensity, AI sharpening improves perceived quality rather than degrading it, but more isn't always better.
Can AI sharpen very low resolution photos? Yes, though results depend on how much genuine detail exists in the source. AI upscaling and sharpening work together to enlarge the image while reconstructing plausible detail, which works well for moderately low-resolution photos but has clearer limits on extremely small or heavily compressed source images.
Where to Go From Here
The real takeaway here is that "AI sharpener" isn't one single tool doing one single job — motion blur, out-of-focus shots, low-resolution images, and old photo restoration all benefit from slightly different approaches, and picking the right tool for your specific problem matters more than picking the most hyped one. For everyday sharpening without committing to desktop software or a subscription, start with a straightforward browser tool and see how far it gets you before reaching for something heavier.
Ready to try it on your own photo? Removerhub's image sharpener handles the common cases — soft photos, mild blur, low-resolution images — directly in your browser, no installation required.