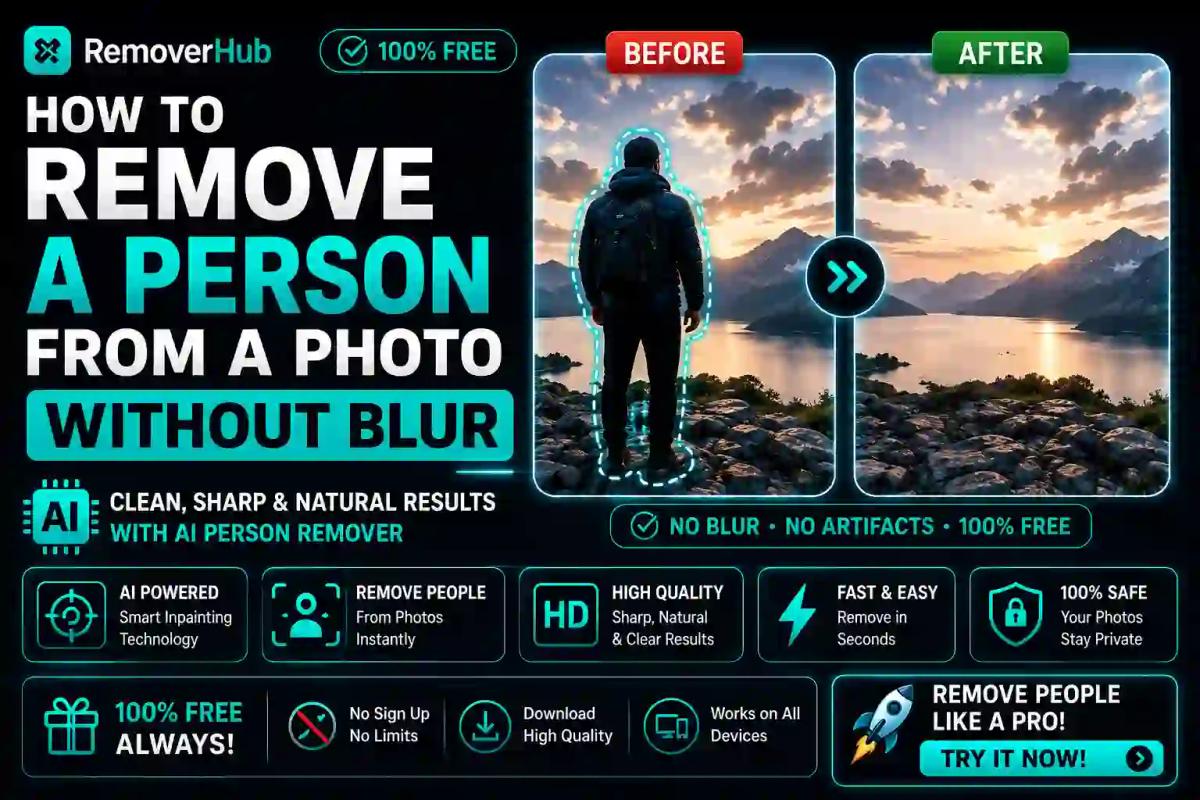
How to Remove a Person From a Photo Without Blur
Blur after removing a person from a photo happens for one main reason: the AI doesn't have enough surrounding pixel data to accurately reconstruct what was behind them, so it produces a soft, averaged guess instead of sharp detail. The fix is using a tool built specifically for person removal, giving it a properly sized selection, and choosing a background with enough visible texture nearby for the algorithm to work from.
This guide breaks down exactly why that blur happens, how to avoid it step by step using a free tool, and which situations — group photos, busy backgrounds, low-resolution originals — are genuinely harder to get clean, so you know what to expect before you start.
Why Removing a Person Leaves a Blur in the First Place
Understanding the mechanics here actually makes you better at avoiding the problem, so it's worth a few minutes before jumping to the tool.
When you remove a person from a photo, the software isn't uncovering a hidden background that was there all along — it's generating new pixel data through a process called inpainting. The AI looks at the pixels surrounding your selection and calculates the most statistically likely way to fill that space based on the colors, textures, and patterns it can see nearby.
Blur shows up when the algorithm doesn't have confident, high-detail information to work from. Instead of committing to a sharp, specific texture, it produces something closer to an average — a soft blend of plausible options — which reads visually as blur or a slightly "smudged" patch. This is fundamentally different from a photography blur (like camera shake or an out-of-focus lens); it's a reconstruction artifact specific to AI-based editing.
Three factors drive this more than anything else:
Background complexity. A person standing in front of a plain wall or open sky gives the AI a simple, high-confidence pattern to extend. A person standing in front of a crowd, intricate architecture, or dense foliage gives it far more ambiguous, detailed information to guess at — and ambiguity is exactly what produces soft, blurred reconstructions.
Selection size and looseness. An oversized selection removes more surrounding context the AI could have used as a reference. A selection that's too tight leaves a faint outline of the original subject. There's a sweet spot, and it's closer to the person's actual edge than most people assume.
Available surrounding pixel data. If the person is near the frame's edge, or overlapping another object, the AI has less clean background to sample from on all sides, which weakens the reconstruction.
Step-by-Step: Remove a Person Without Leaving a Blur
Here's the actual process using the AI Person Remover, a tool built specifically for cleanly removing people rather than general objects.
Start with the highest-resolution version of your photo. A low-resolution or already-compressed image gives the AI less accurate data to reconstruct from, which is one of the most common — and most avoidable — causes of a blurry result.
Upload the image to the AI Person Remover. This tool is trained specifically on human shapes, edges, and the way people typically overlap with backgrounds, which tends to produce cleaner results than a general-purpose object eraser.
Select the person with a slightly generous outline. Trace close to their actual silhouette, but don't cut it razor-tight. A margin of a few pixels around hair, clothing edges, and shadows gives the algorithm cleaner boundary information than an exact, pixel-perfect trace.
Include any shadow the person casts. If you leave a shadow behind after removing the person who cast it, the photo will look obviously edited no matter how clean the person removal itself is. Select the shadow as part of the same removal pass if it's clearly connected to them.
Let the AI process, then zoom to 100%. Don't judge the result at thumbnail size — zoom in specifically on the area where the person was removed and check for soft patches, warped lines, or mismatched texture.
Reprocess just the weak spot if needed. If part of the reconstruction looks soft, select only that smaller problem area and run it through again rather than redoing the entire removal. A second, more targeted pass often resolves exactly the section that was weak the first time.
Sharpen selectively if a slight softness remains. If the overall removal is clean but the reconstructed patch is very slightly softer than the surrounding photo, running the finished image through an Image Sharpener can even out that difference without over-sharpening the rest of the photo.
Why the "Selection Size" Detail Matters More Than People Realize
This is worth its own section because it's the single most common technical mistake behind blurry removals, and it's rarely mentioned in surface-level tutorials.
When your selection is too tight — tracing exactly along the person's outline with zero margin — you often leave behind a thin sliver of their original edge: a hint of hair, a shadow line, or color fringing from where their clothing met the background. This isn't blur exactly, but it reads as one at a glance, and it's frequently mistaken for the same problem.
When your selection is too loose — grabbing a wide margin of background around the person — you're removing more of the very reference data the AI needs to reconstruct convincingly. You're asking it to guess across a bigger, emptier area with less nearby detail to anchor to, which is when true blur is most likely to appear.
The practical middle ground: trace close to the person's actual silhouette, err very slightly generous rather than tight, and treat hair and loose clothing edges (which are naturally soft and irregular) differently from hard edges like a person's arm against a straight wall line.
Group Photos: Removing One Person Without Disturbing the Rest
Group photos introduce a compounding challenge that single-person removals don't have: the reconstruction has to blend correctly not just with the background, but potentially with the people standing next to the one you're removing.
A few realities worth knowing before you start:
- Removing someone from the edge of a group is easier than removing someone from the middle, since the AI only has to reconstruct background on one side rather than stitching together a plausible gap between two remaining people.
- Overlapping bodies (shoulders touching, arms crossing behind others) are the hardest case. If the person you're removing is physically overlapping the person next to them — an arm around a shoulder, for instance — the AI has to reconstruct not just background but a piece of the remaining person's body that was hidden behind the one being removed. This is genuinely one of the more difficult scenarios for any tool, free or paid.
- Removing multiple people works best one at a time. Rather than selecting several people simultaneously, removing them individually and reviewing each result before moving to the next produces noticeably better outcomes, since it gives the AI a fresh, undamaged image to reference for each pass rather than compounding uncertainty across multiple simultaneous removals.
If your project involves cleaning up a group photo with several people to remove, the AI People Remover is built with multi-subject removal specifically in mind, which handles sequential removals more predictably than running a single-person tool repeatedly.
Old and Low-Resolution Photos: What to Expect
Removing a person from an old scanned photograph, a low-resolution phone photo, or a heavily compressed image comes with a hard limitation worth being upfront about: the AI can only work with the pixel information that actually exists in the source file.
A grainy, low-resolution original doesn't give the algorithm the same fine detail to reference that a sharp, high-resolution photo would. The reconstruction will generally still look reasonable at normal viewing size, but zooming in reveals softness that a higher-resolution source simply wouldn't have produced.
If you're working with an old family photo specifically, there's a practical two-step workflow that helps: sharpen the image first using something like an Image Sharpener to recover as much visible detail as possible, then perform the person removal on the sharpened version rather than the original scan. This gives the AI slightly better source material to reconstruct from, even though it can't manufacture detail that was never captured in the first place.
AI Removal vs. Manual Editing: When Each Makes Sense
For the majority of everyday requests — a stranger in a vacation photo, an ex removed from an old picture, a photobomber in a family shot — a free AI tool resolves the task cleanly in under a minute, with no editing experience required.
Manual editing tools, like Photoshop's content-aware fill, still have an edge in specific situations: extremely detailed backgrounds where you need to manually control which reference pixels the software samples from, or professional deliverables where any visible softness is unacceptable. According to Adobe's documentation on content-aware fill, the feature lets users manually define the sampling area the algorithm draws from — a level of control most free browser tools don't expose, since they're built for speed and accessibility over granular manual adjustment.
The realistic approach: try the free AI tool first, since it handles the overwhelming majority of real-world requests well. Reach for manual editing specifically when a complex background or a professional-grade deliverable genuinely demands pixel-level control the automated tool can't give you.
Common Mistakes That Cause Blur (and How to Avoid Each One)
- Working from a screenshot instead of the original file. Screenshots recompress the image, stripping detail the AI needs. Always locate and use the original photo file if you have it.
- Selecting only the person, not their shadow. As covered above, a leftover shadow undermines an otherwise clean removal and can look worse than mild softness would have.
- Removing a person and immediately downloading without checking at full zoom. The most common reason people discover blur after sharing a photo is that they never zoomed past thumbnail size before exporting.
- Trying to remove a person from a severely low-resolution image and expecting print-quality results. Set expectations based on your source file — a small, compressed image will never produce the same clean result as a high-resolution original.
- Doing one giant selection across a complex, multi-person group photo. Sequential, smaller removals consistently outperform one large simultaneous selection in group settings.
- Ignoring reflections. Windows, mirrors, water, and glossy surfaces can hold a reflection of the person you're removing. This is easy to miss and, like shadows, gives away an edit immediately if left behind.
Frequently Asked Questions
How do I remove a person from a photo without it looking blurry? Use a tool built specifically for person removal, trace a selection close to the person's actual outline without cutting it too tight, and check the result at full zoom before exporting. Working from the highest-resolution version of your photo also significantly reduces the chance of a soft, blurry reconstruction.
Why does the background blur after removing a person from a photo? Blur happens when the AI doesn't have enough clear, detailed surrounding pixel data to confidently reconstruct what was behind the person, so it produces a soft, averaged guess instead. This is more likely with busy backgrounds, oversized selections, or low-resolution source images.
Is there a free tool to remove a person from a photo cleanly? Yes. The AI Person Remover is a free, browser-based tool trained specifically on human shapes and edges, which typically produces cleaner results than a general object removal tool.
Can I remove a person from a group photo without ruining the quality? Generally yes, especially if the person is near the edge of the group rather than overlapping others. Removing multiple people one at a time, rather than all at once, produces noticeably better results in group photos.
Does removing a person from a photo always leave a mark? Not necessarily. A clean removal against a simple background, with a properly sized selection and its shadow included, often leaves no visible trace. Complex, detailed backgrounds carry a higher chance of some residual softness.
What is the best app to remove a person without blur? Look for a tool specifically designed for person removal rather than general object erasing, since these are typically trained on human silhouettes, hair edges, and skin tones. The AI Person Remover and AI People Remover are both built for this specific case.
Can you remove a person from an old or low-resolution photo without blur? It's harder, since the AI can only reconstruct from the detail that actually exists in the source file. Sharpening the image first, then performing the removal on the sharpened version, generally produces a better result than working from the original low-resolution scan directly.
Final Thoughts
Removing a person from a photo without leaving a visible blur comes down to a handful of controllable factors: starting from a high-resolution original, using a tool built specifically for people rather than general objects, giving the AI a properly sized selection, and always checking the result at full zoom before you call it finished. The technology handles the vast majority of everyday cases — a stranger in a photo, an ex removed from a memory you want to keep, a photobomber ruining an otherwise perfect shot — cleanly and quickly.
For your next removal, start with the AI Person Remover, and if the photo involves more than one person to remove, the AI People Remover is built for that sequential workflow specifically. If a finished result needs a touch more crispness, the Image Sharpener rounds out the process. The full tools collection covers everything else in a typical photo cleanup workflow in one place.